Sorcerer’s Secret Folding Screen
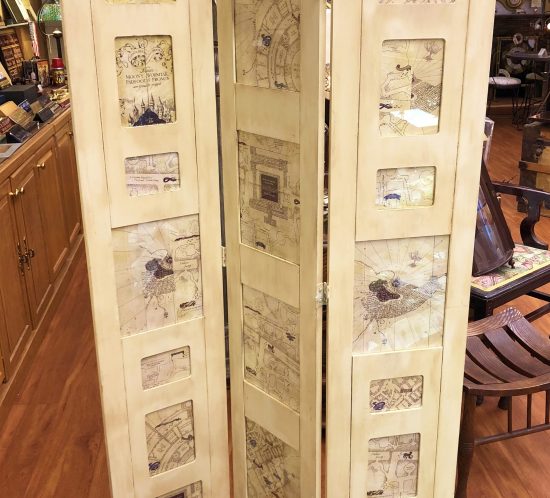
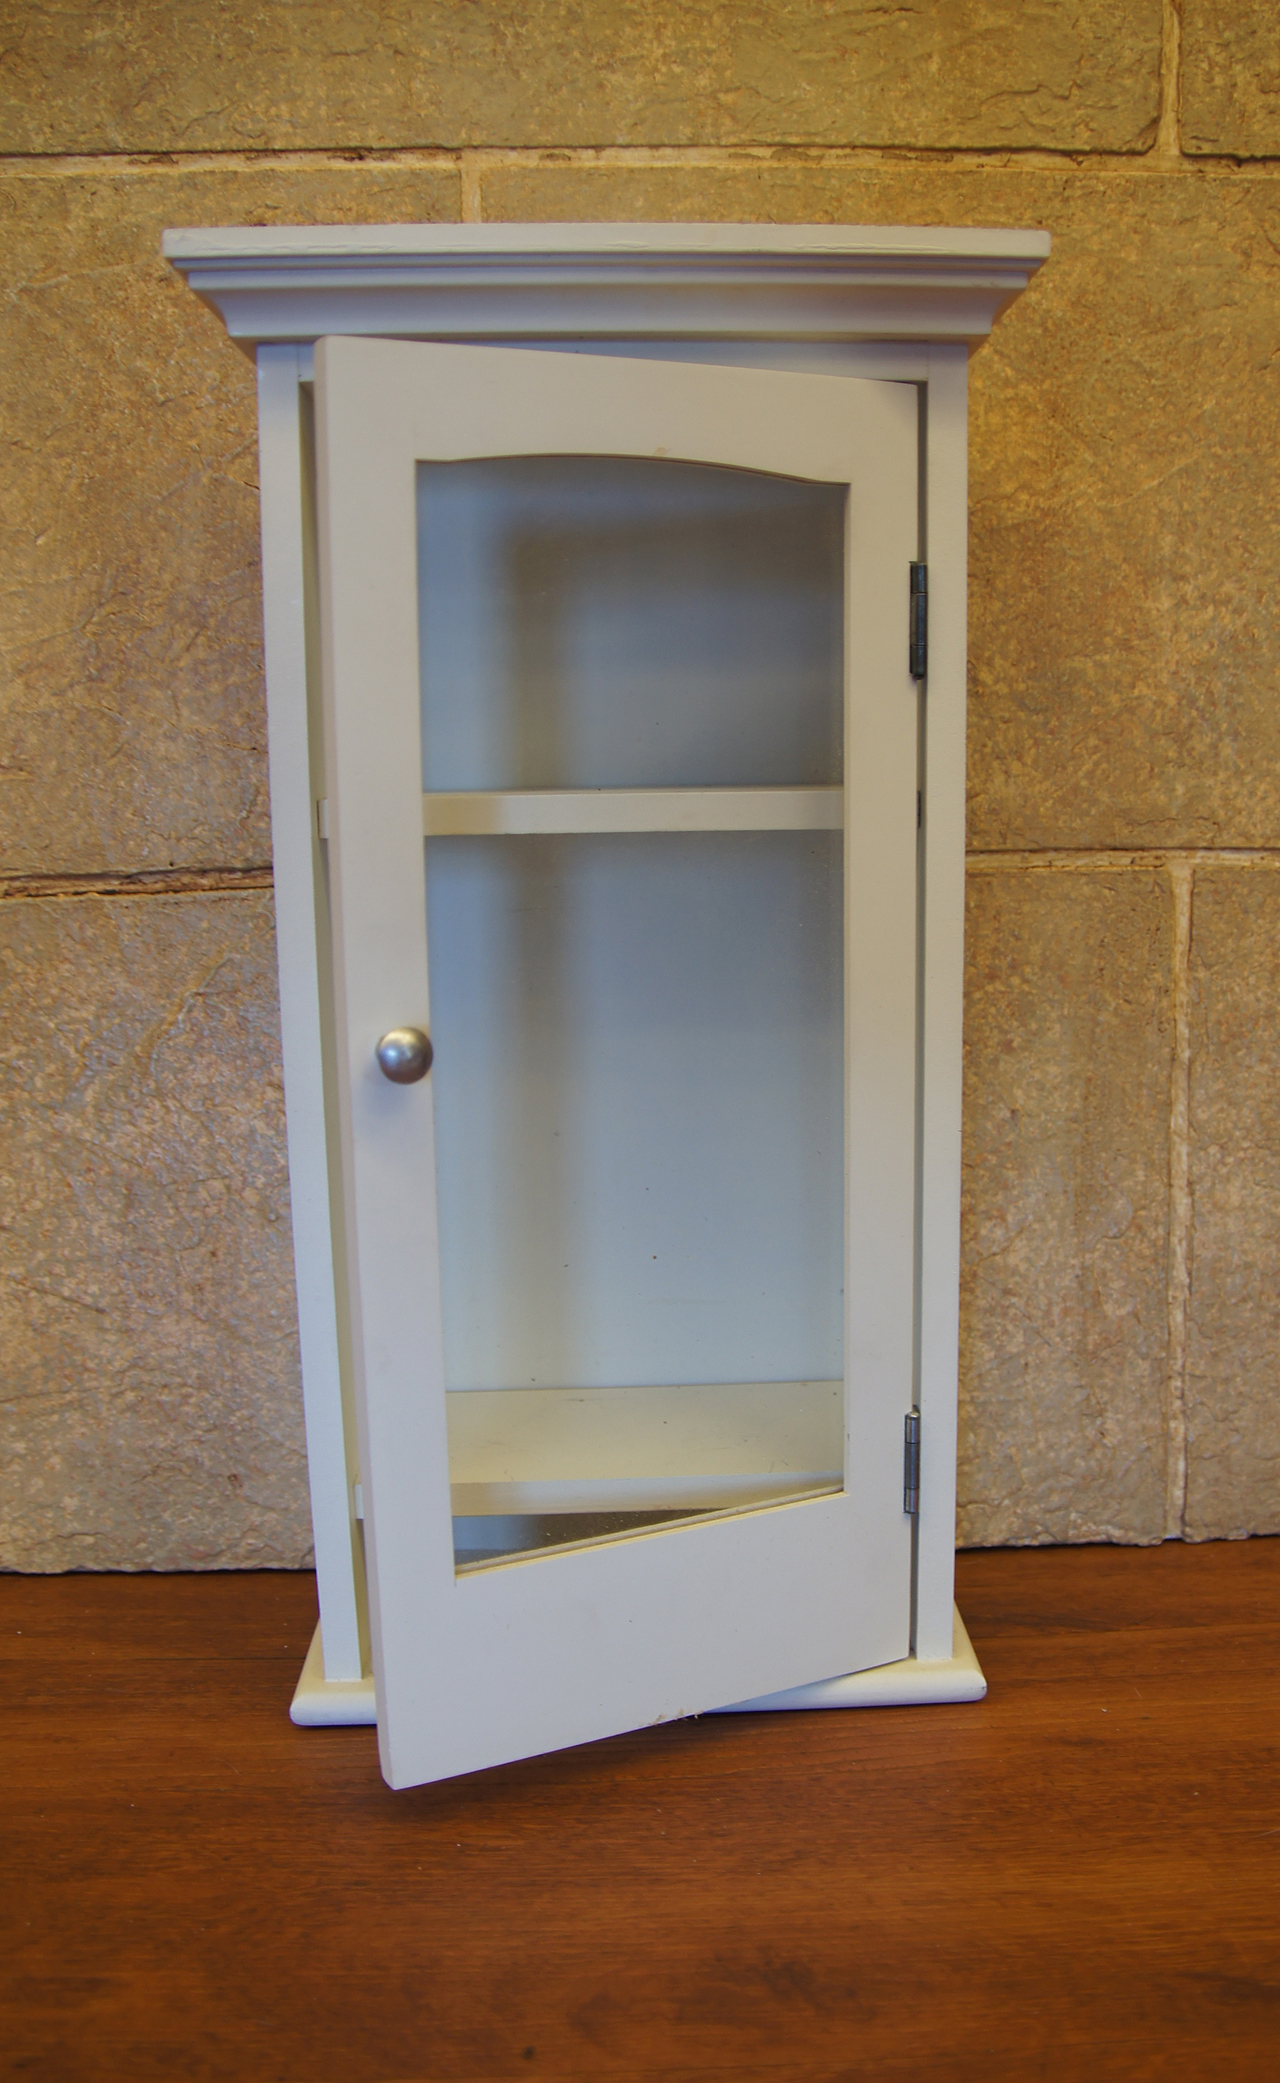
We knew when we found this folding screen for photos at a yard-sale that it had great character and potential. It was basic black and had openings of various sizes of photographs. It was sturdy and a usable size that could screen a view or decoratively fill a corner.
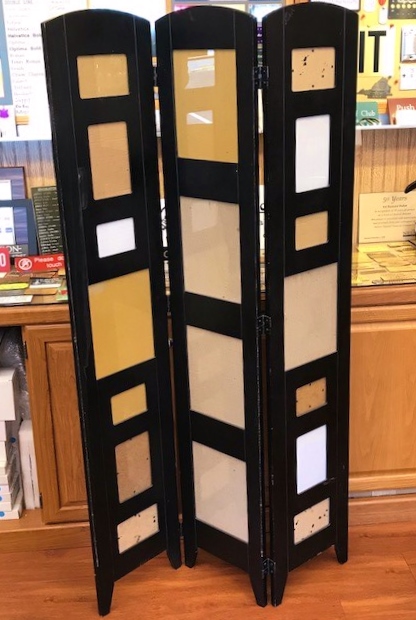
Folding screen from yard sale- as found
Our first thought was to leave it black and decoupage it in Harry Potter trading cards. Those have black edges and we have a box full of them. We laid out some of the cards on the outside of the screen but didn’t really think they worked all that well. We also had a hard time bringing ourselves to cut up any of those cards.
Thinking from the inside out we tried to think of what pictures we wanted to use in the screen. Once we thought about it we knew that a screen placed in the corner of a room might not be the best way to display pictures. We wanted something a bit more interesting than wallpaper for example but not as specific as photographs. Since we frequently think in terms of Fantasy Decorating and about Harry Potter in particular it we decided use The Marauder’s Map to make a screen that would look great in any fan’s room.
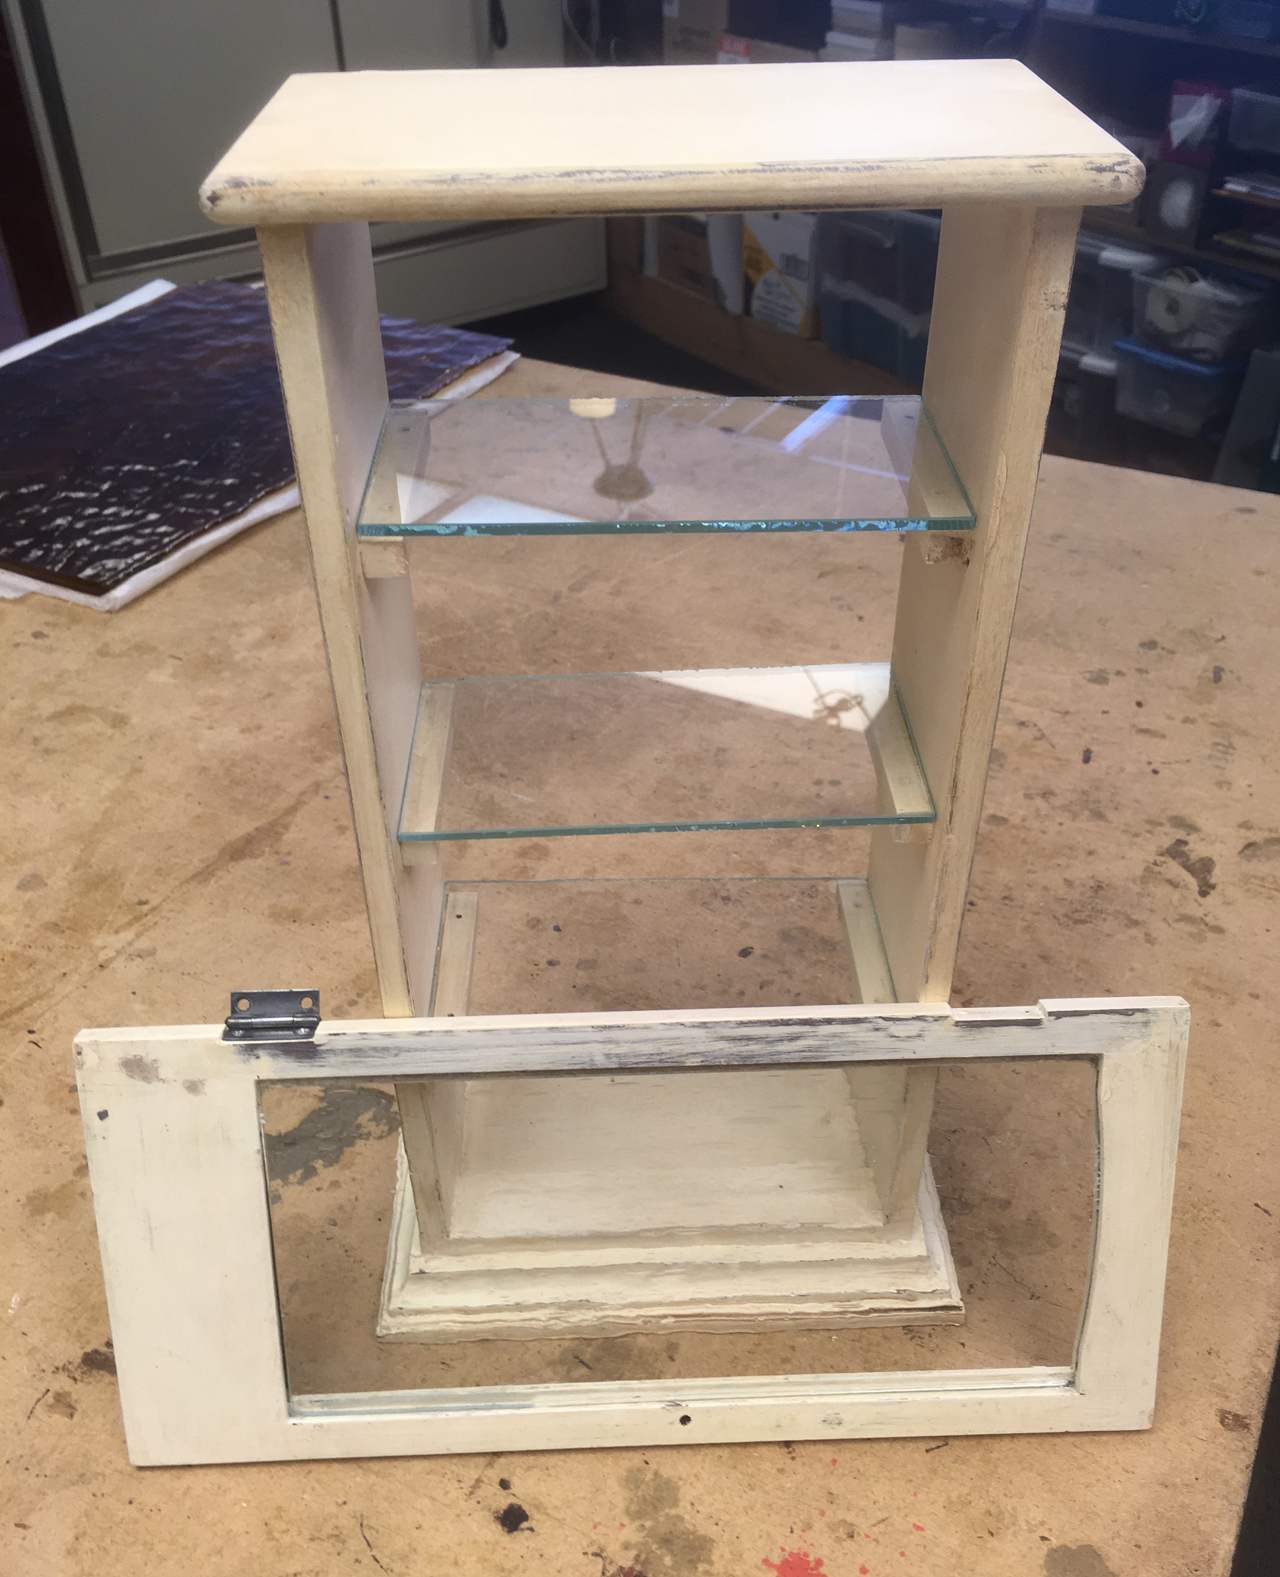
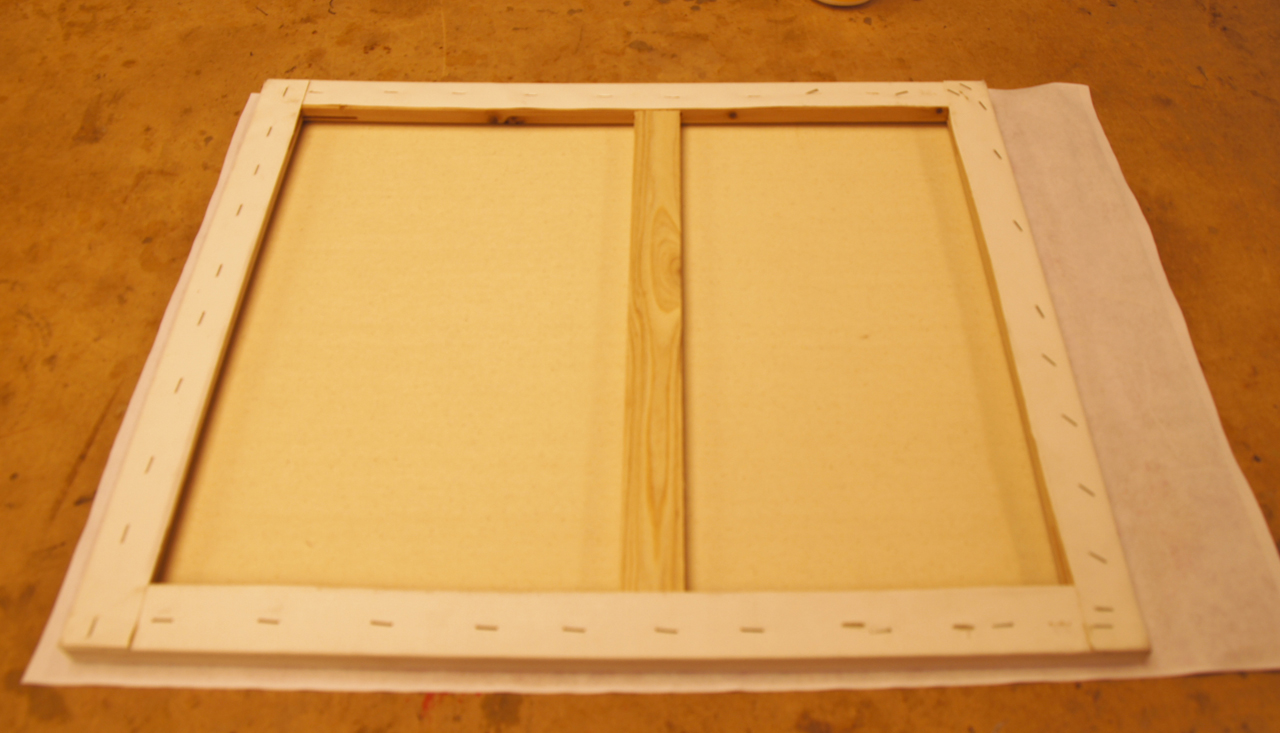
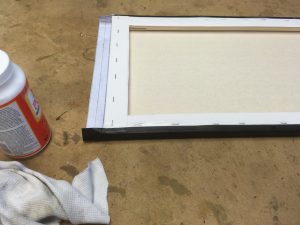
The screen looked fine with the trading cards in black but that color looked harsh with the cream and sepia tones of the Marauder’s Map. So we spray painted the screen thoroughly with an Almond spray paint in a satin finish being sure to paint the hinges, backings for the photographs, and the top, bottom and edges Always apply several light coats and never one heavy coat to avoid runs. We spray and let dry, turn and spray, let dry, and flip and spray until all surfaces and edges are evenly coated.
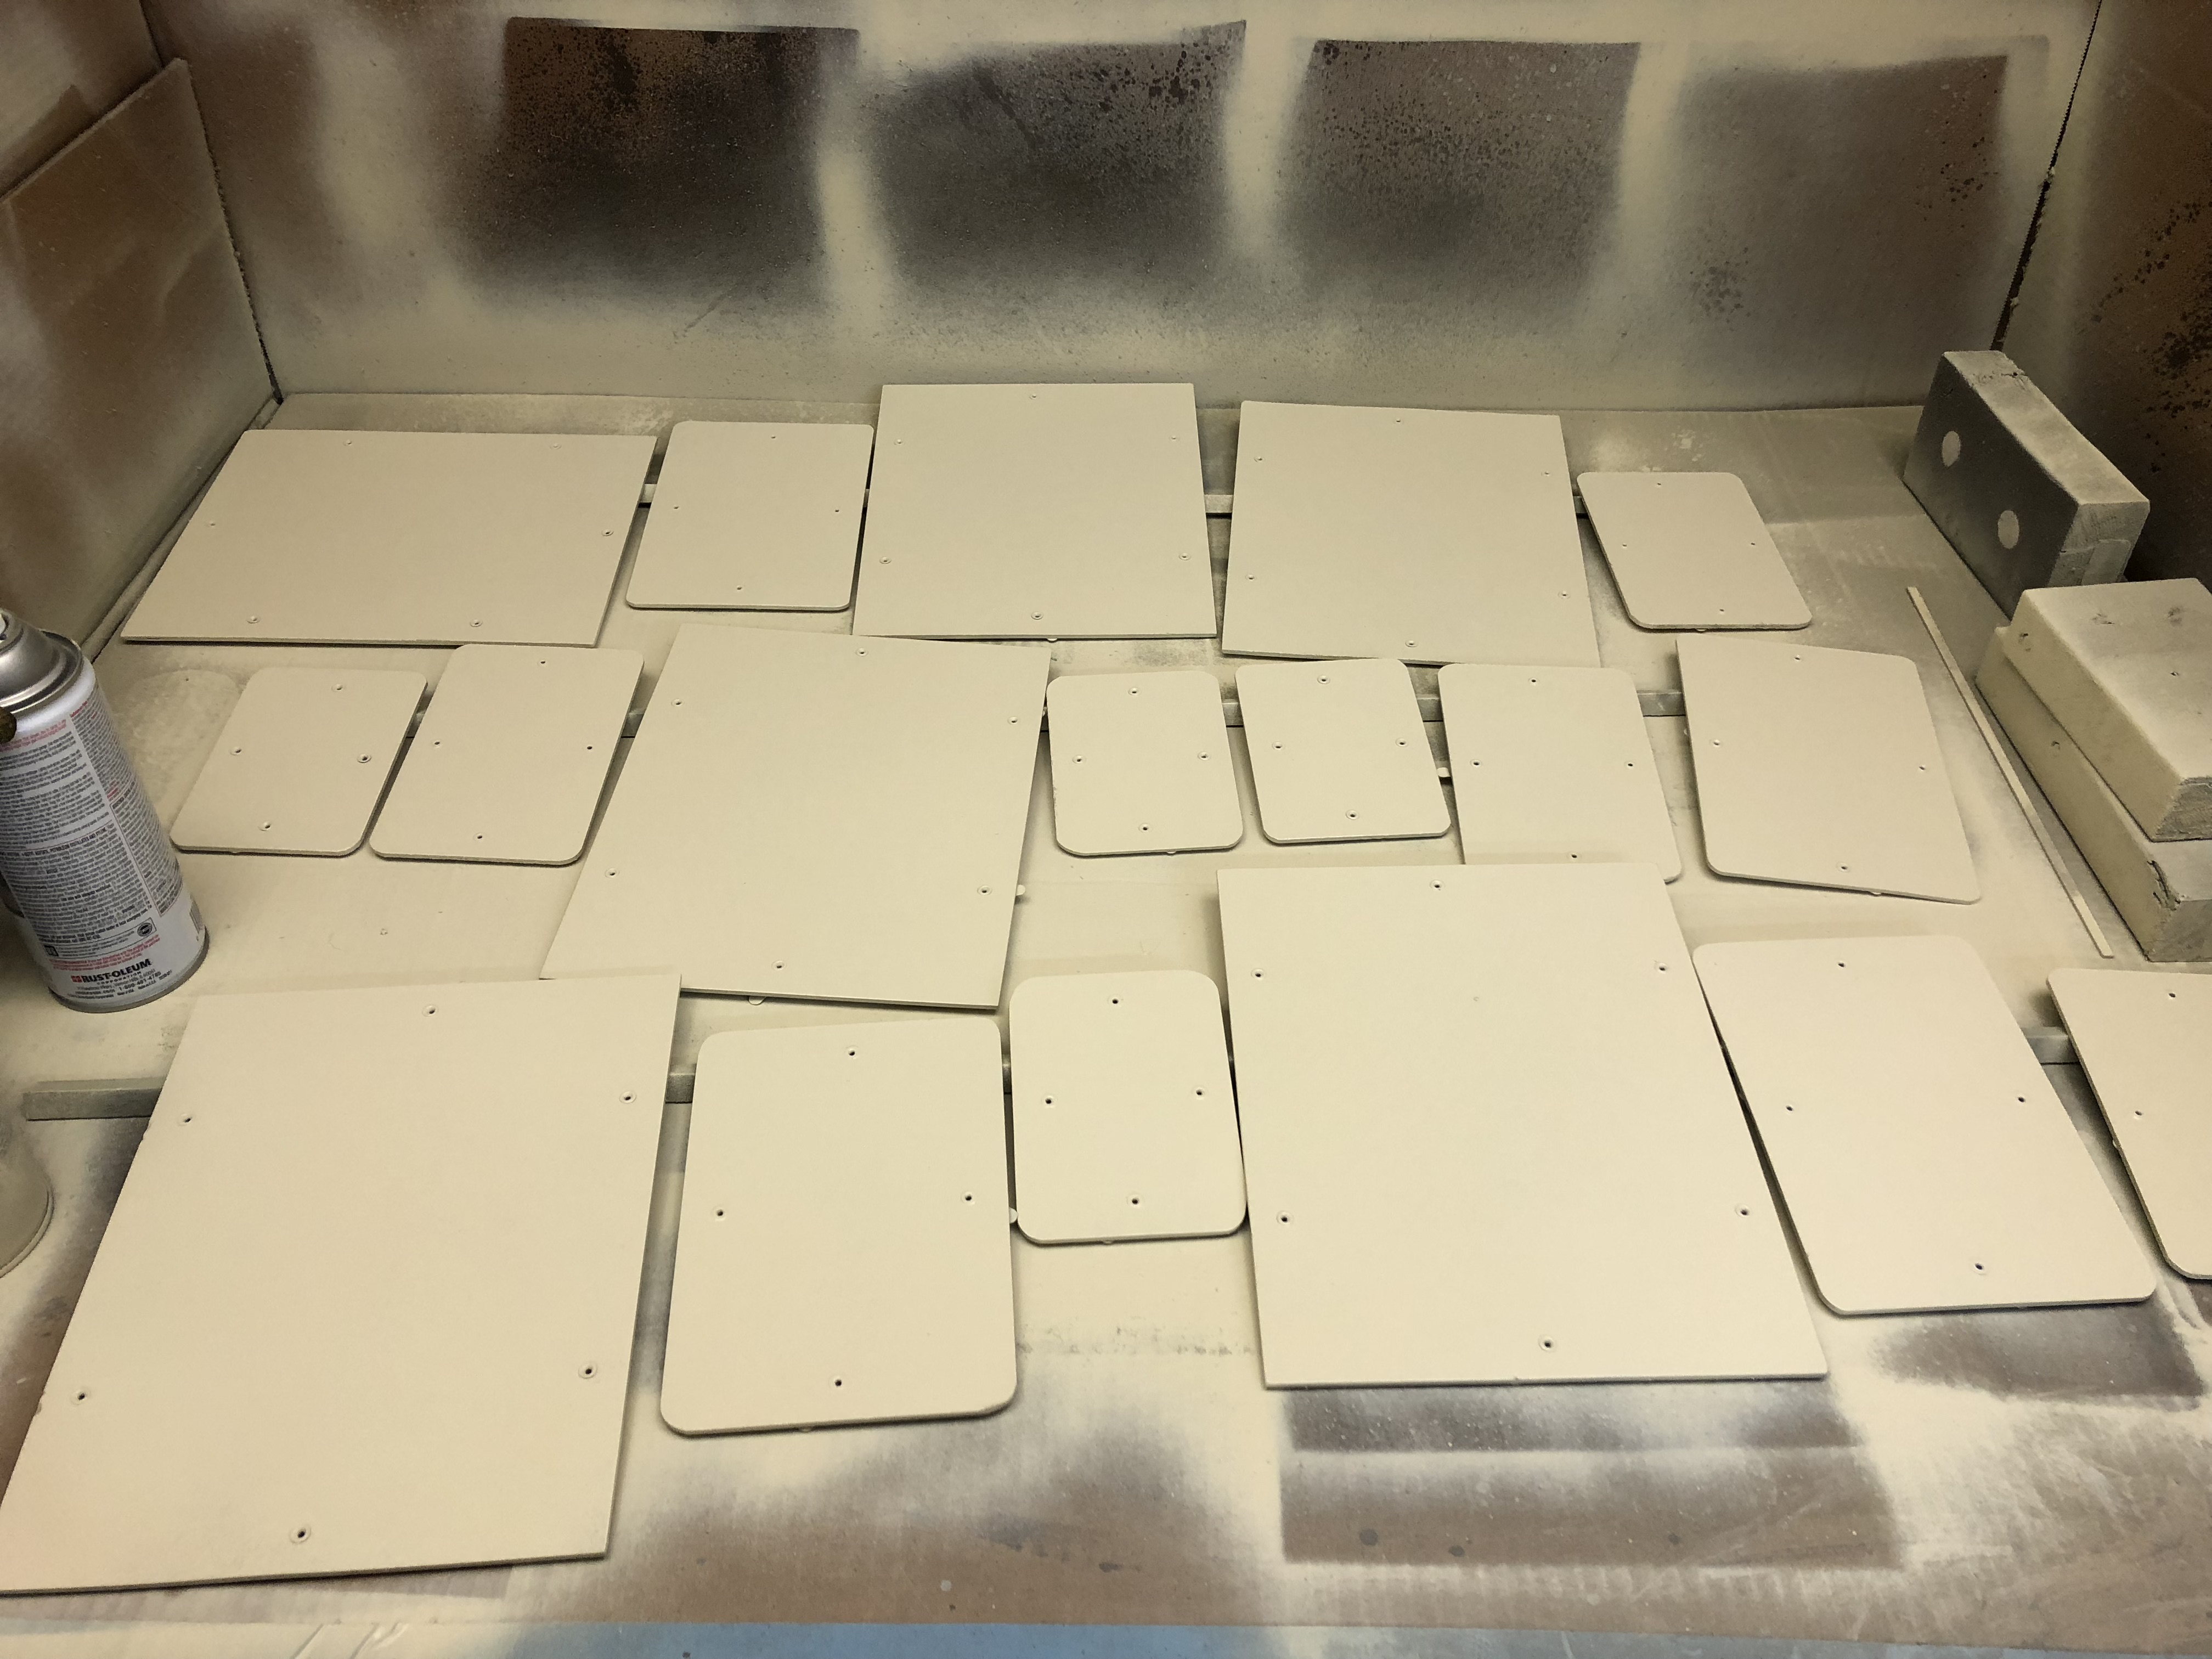
Photo backs sprayed with almond paint.
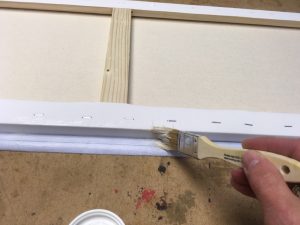
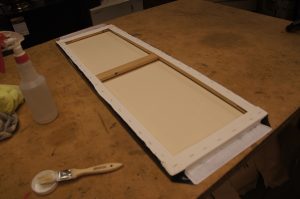
Once the paint was dry we wiped over top of it with an Antique Brown Wax. This is sometimes called a Grunge finish, which should be used sparingly but in this case it made the color of the paint blend perfectly with the Marauder’s Map.
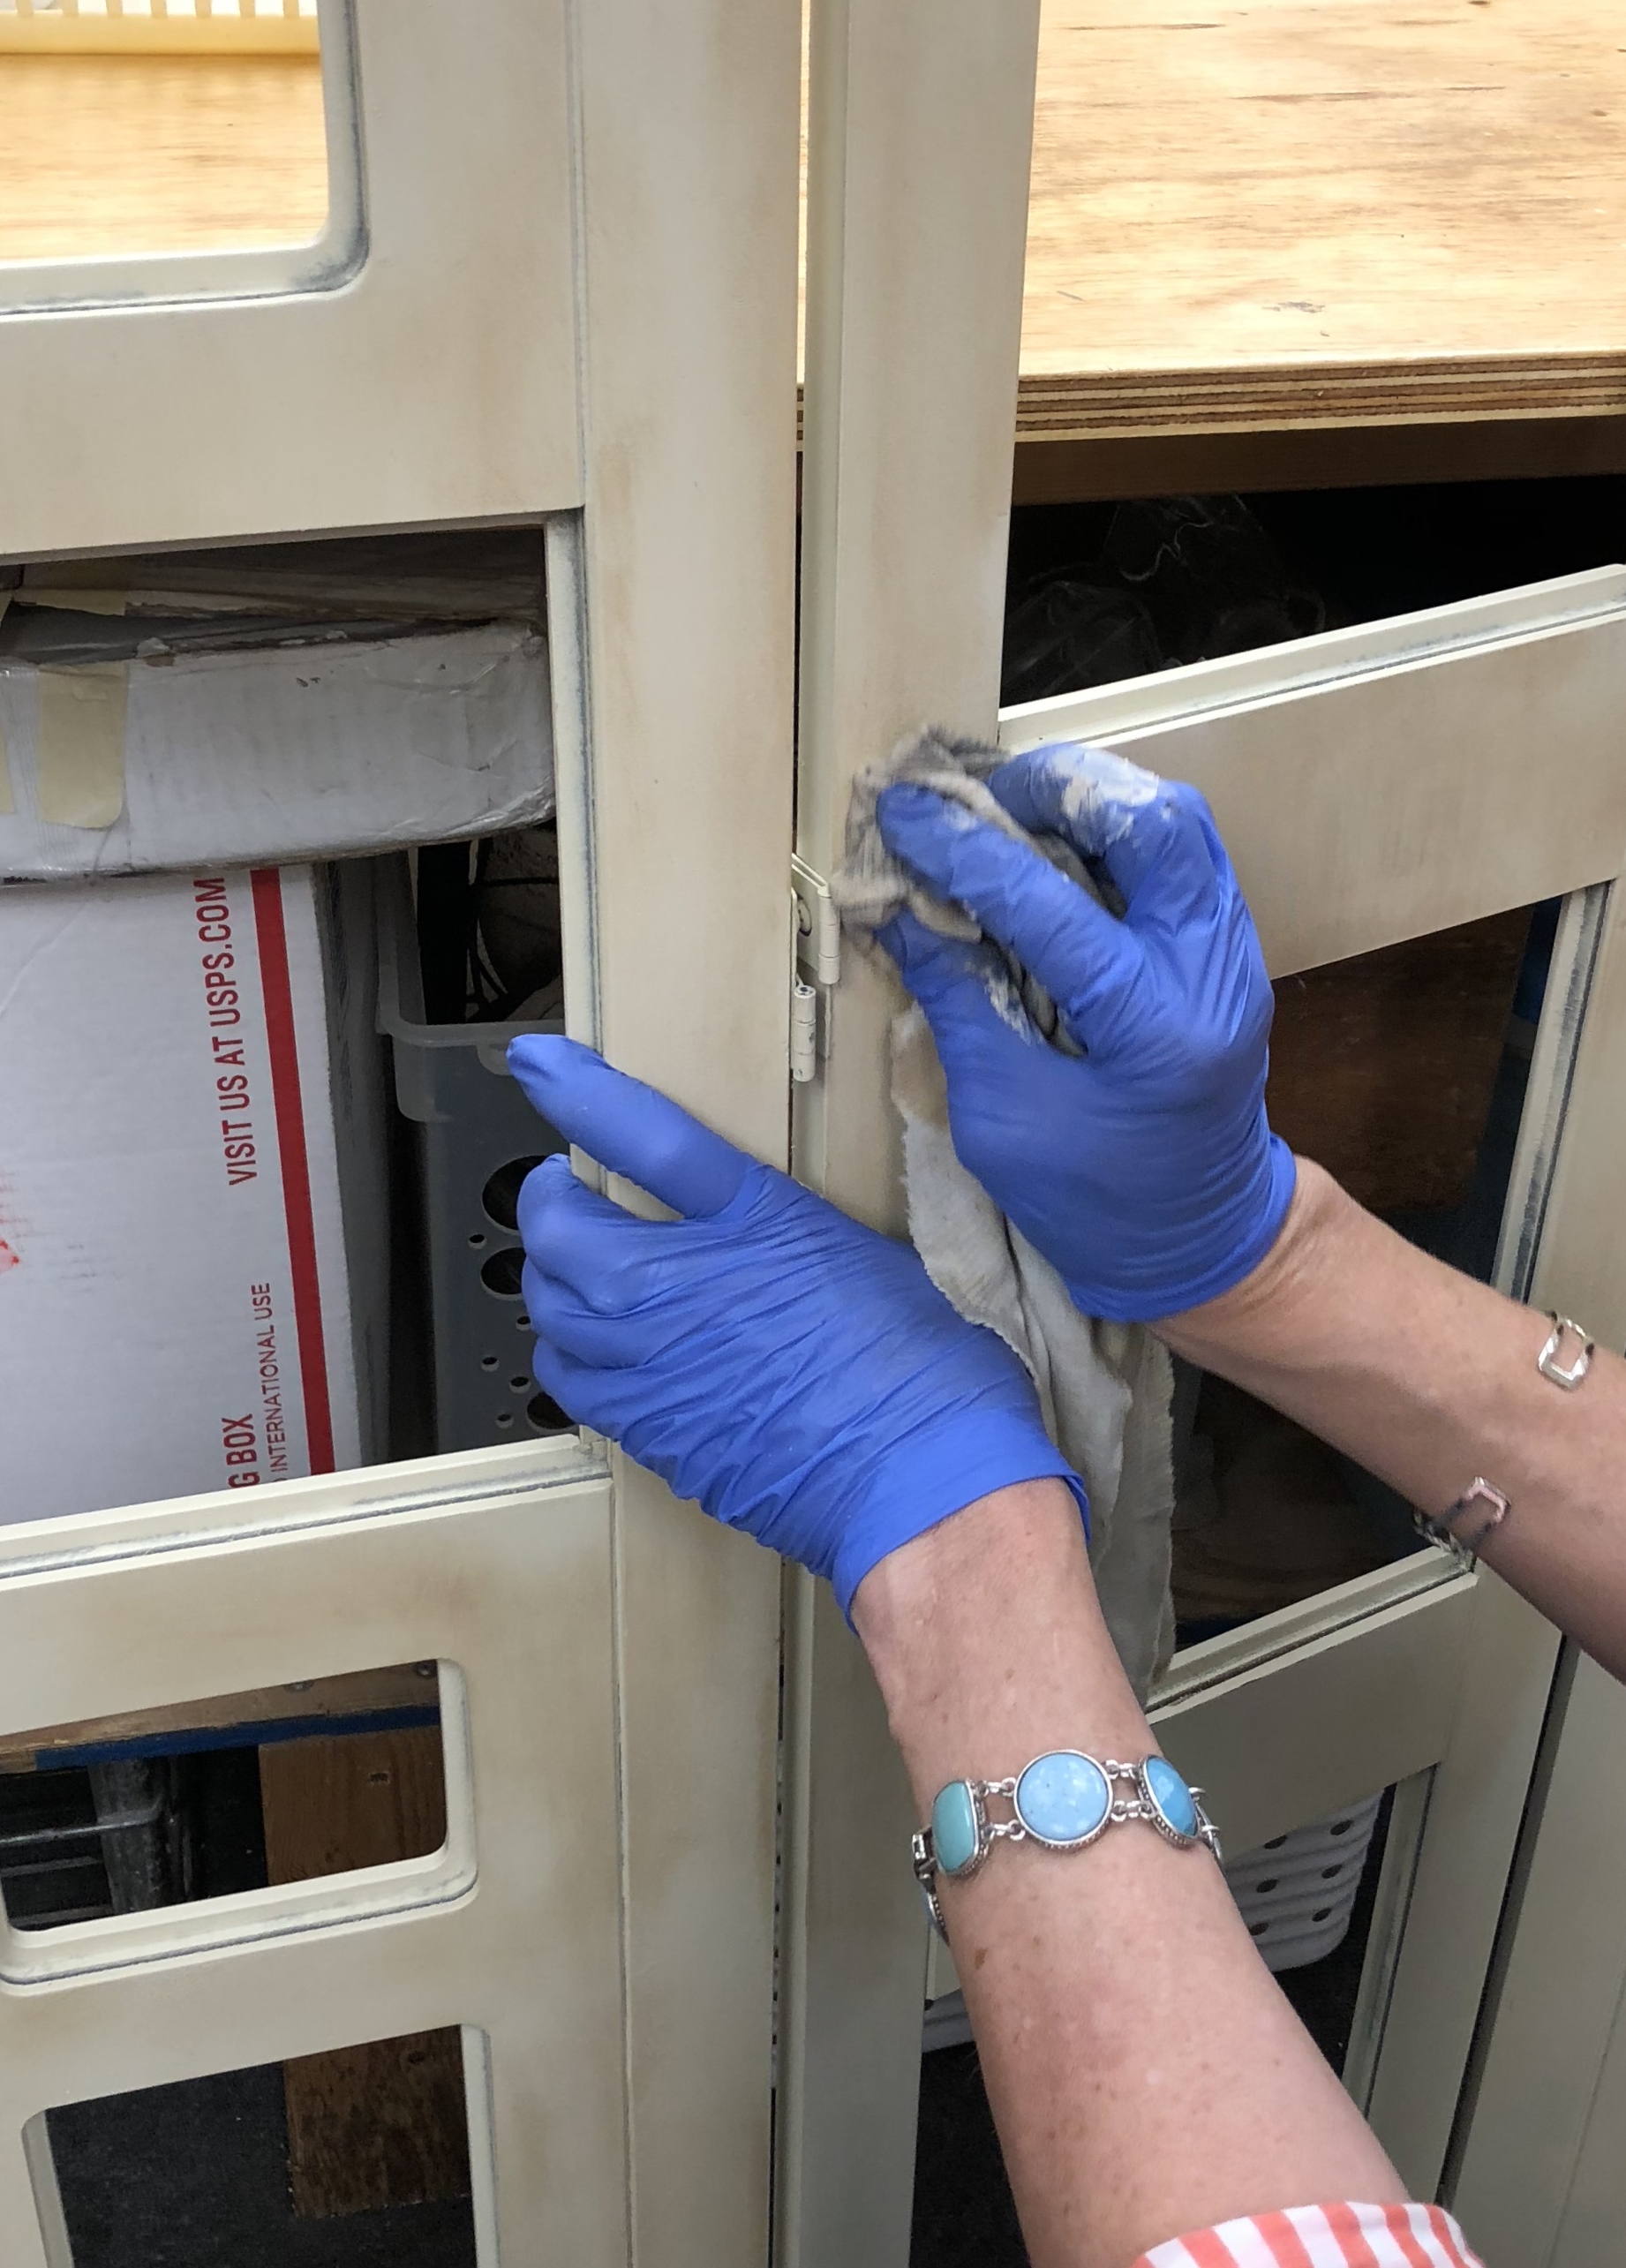
After being painted almond, the screen is wiped with Antique Brown wax.
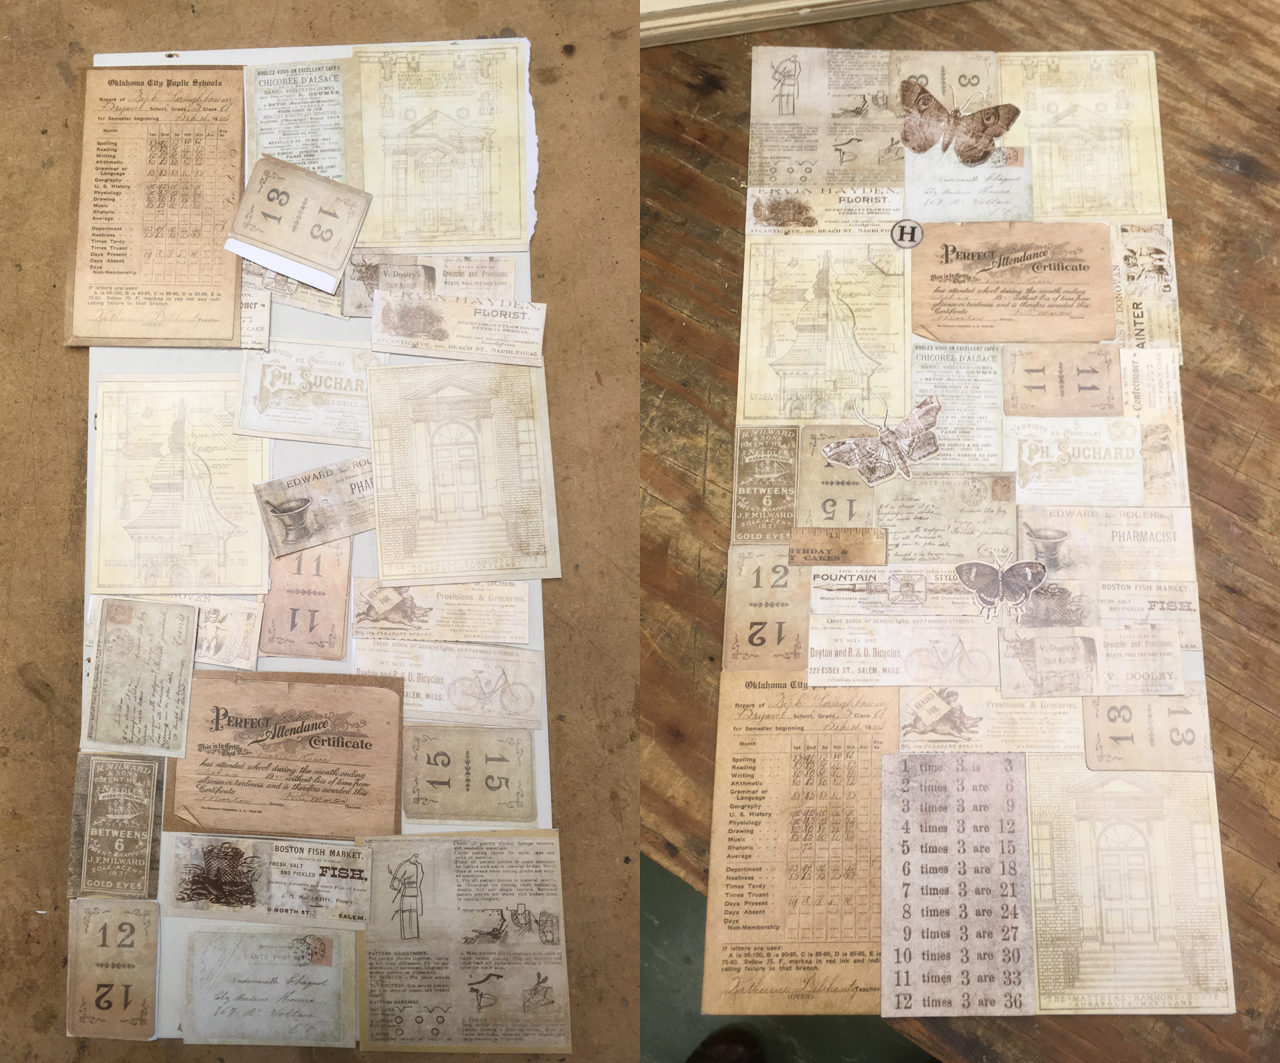
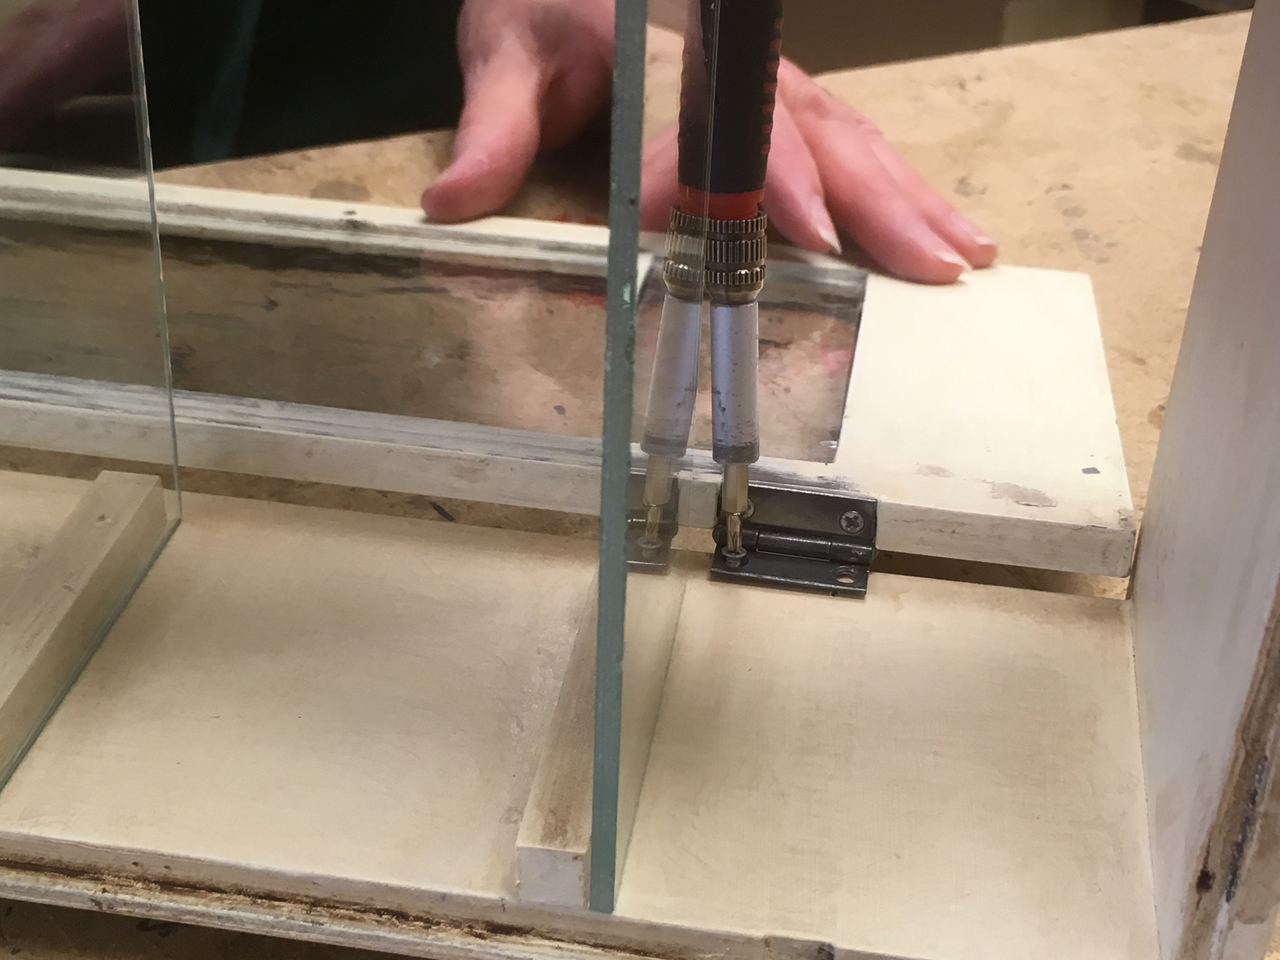
Please note: No Marauder’s Maps were harmed in the making of this screen! We could not bring ourselves to cut ours up. Instead we made color copies of sections of the map. We laid the glass cover for each opening on the various prints we made to find the most interesting part of the illustration and decide where to cut.
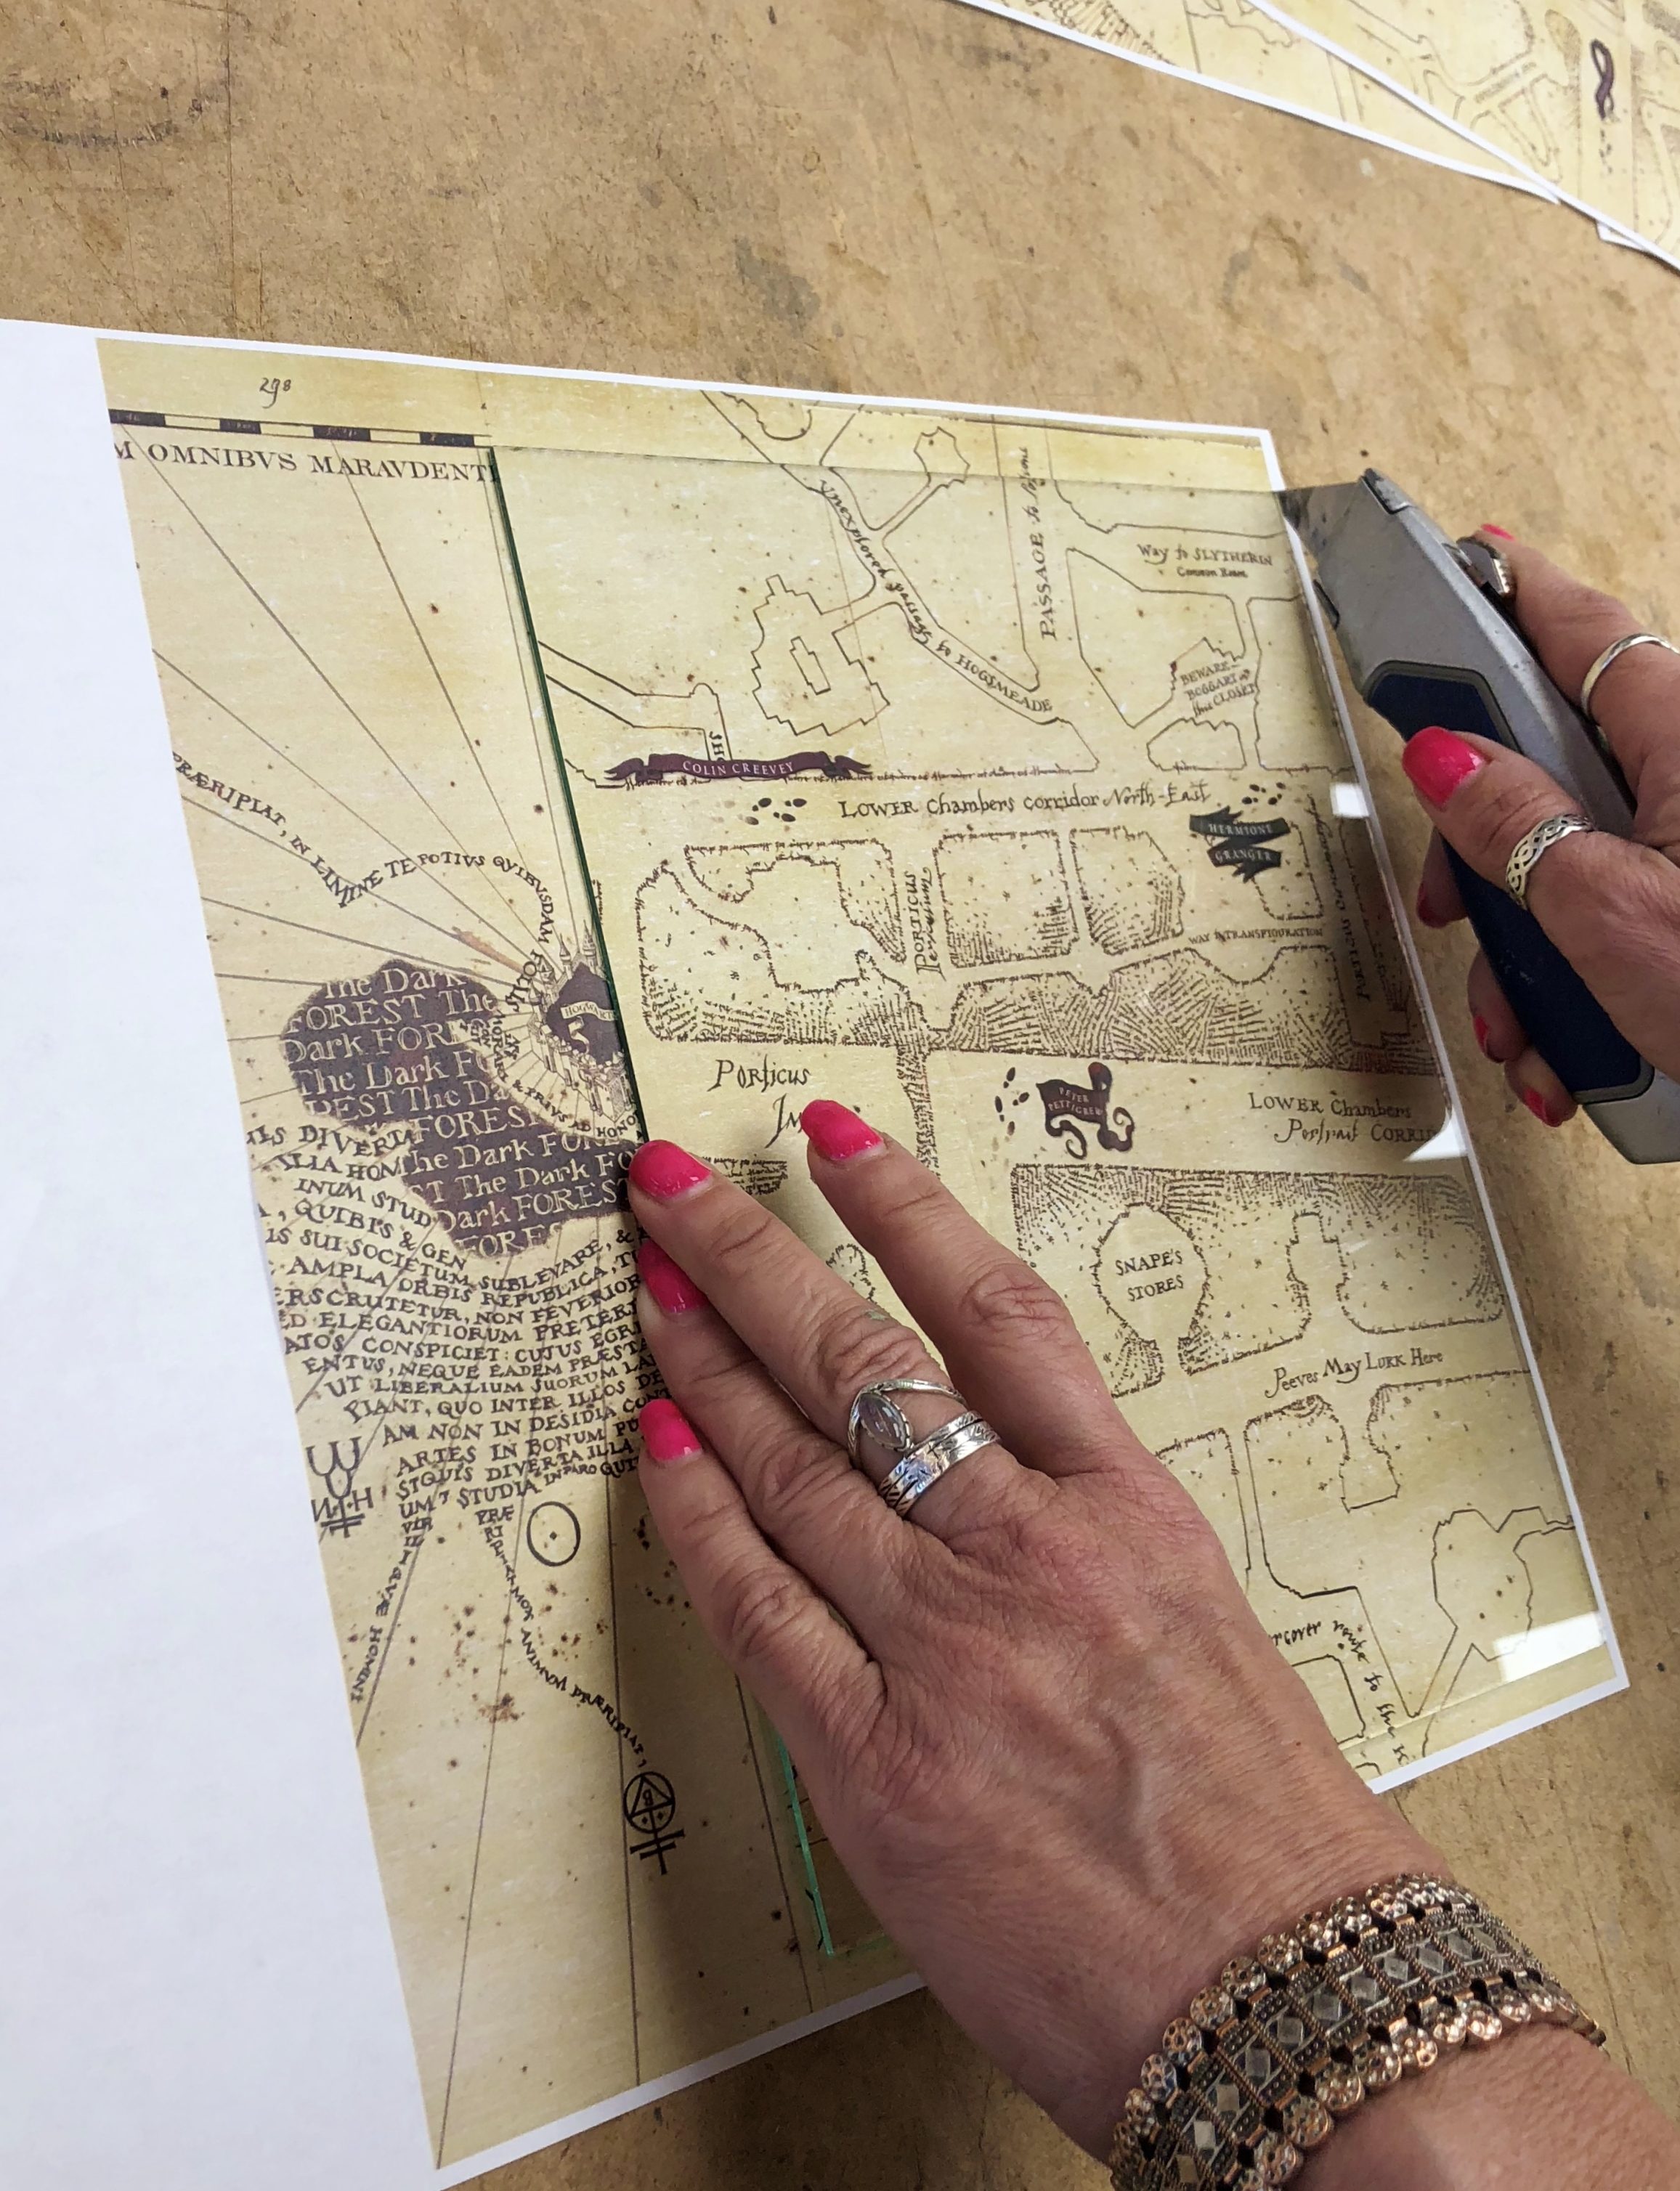
Cutting map to size, being sure to choose an interesting part.
The title and castle drawings got pride of place in the largest openings and the smaller details fit nicely into some of the smaller openings. We shuffled a few sections around until we created a balanced layout that we were happy with.
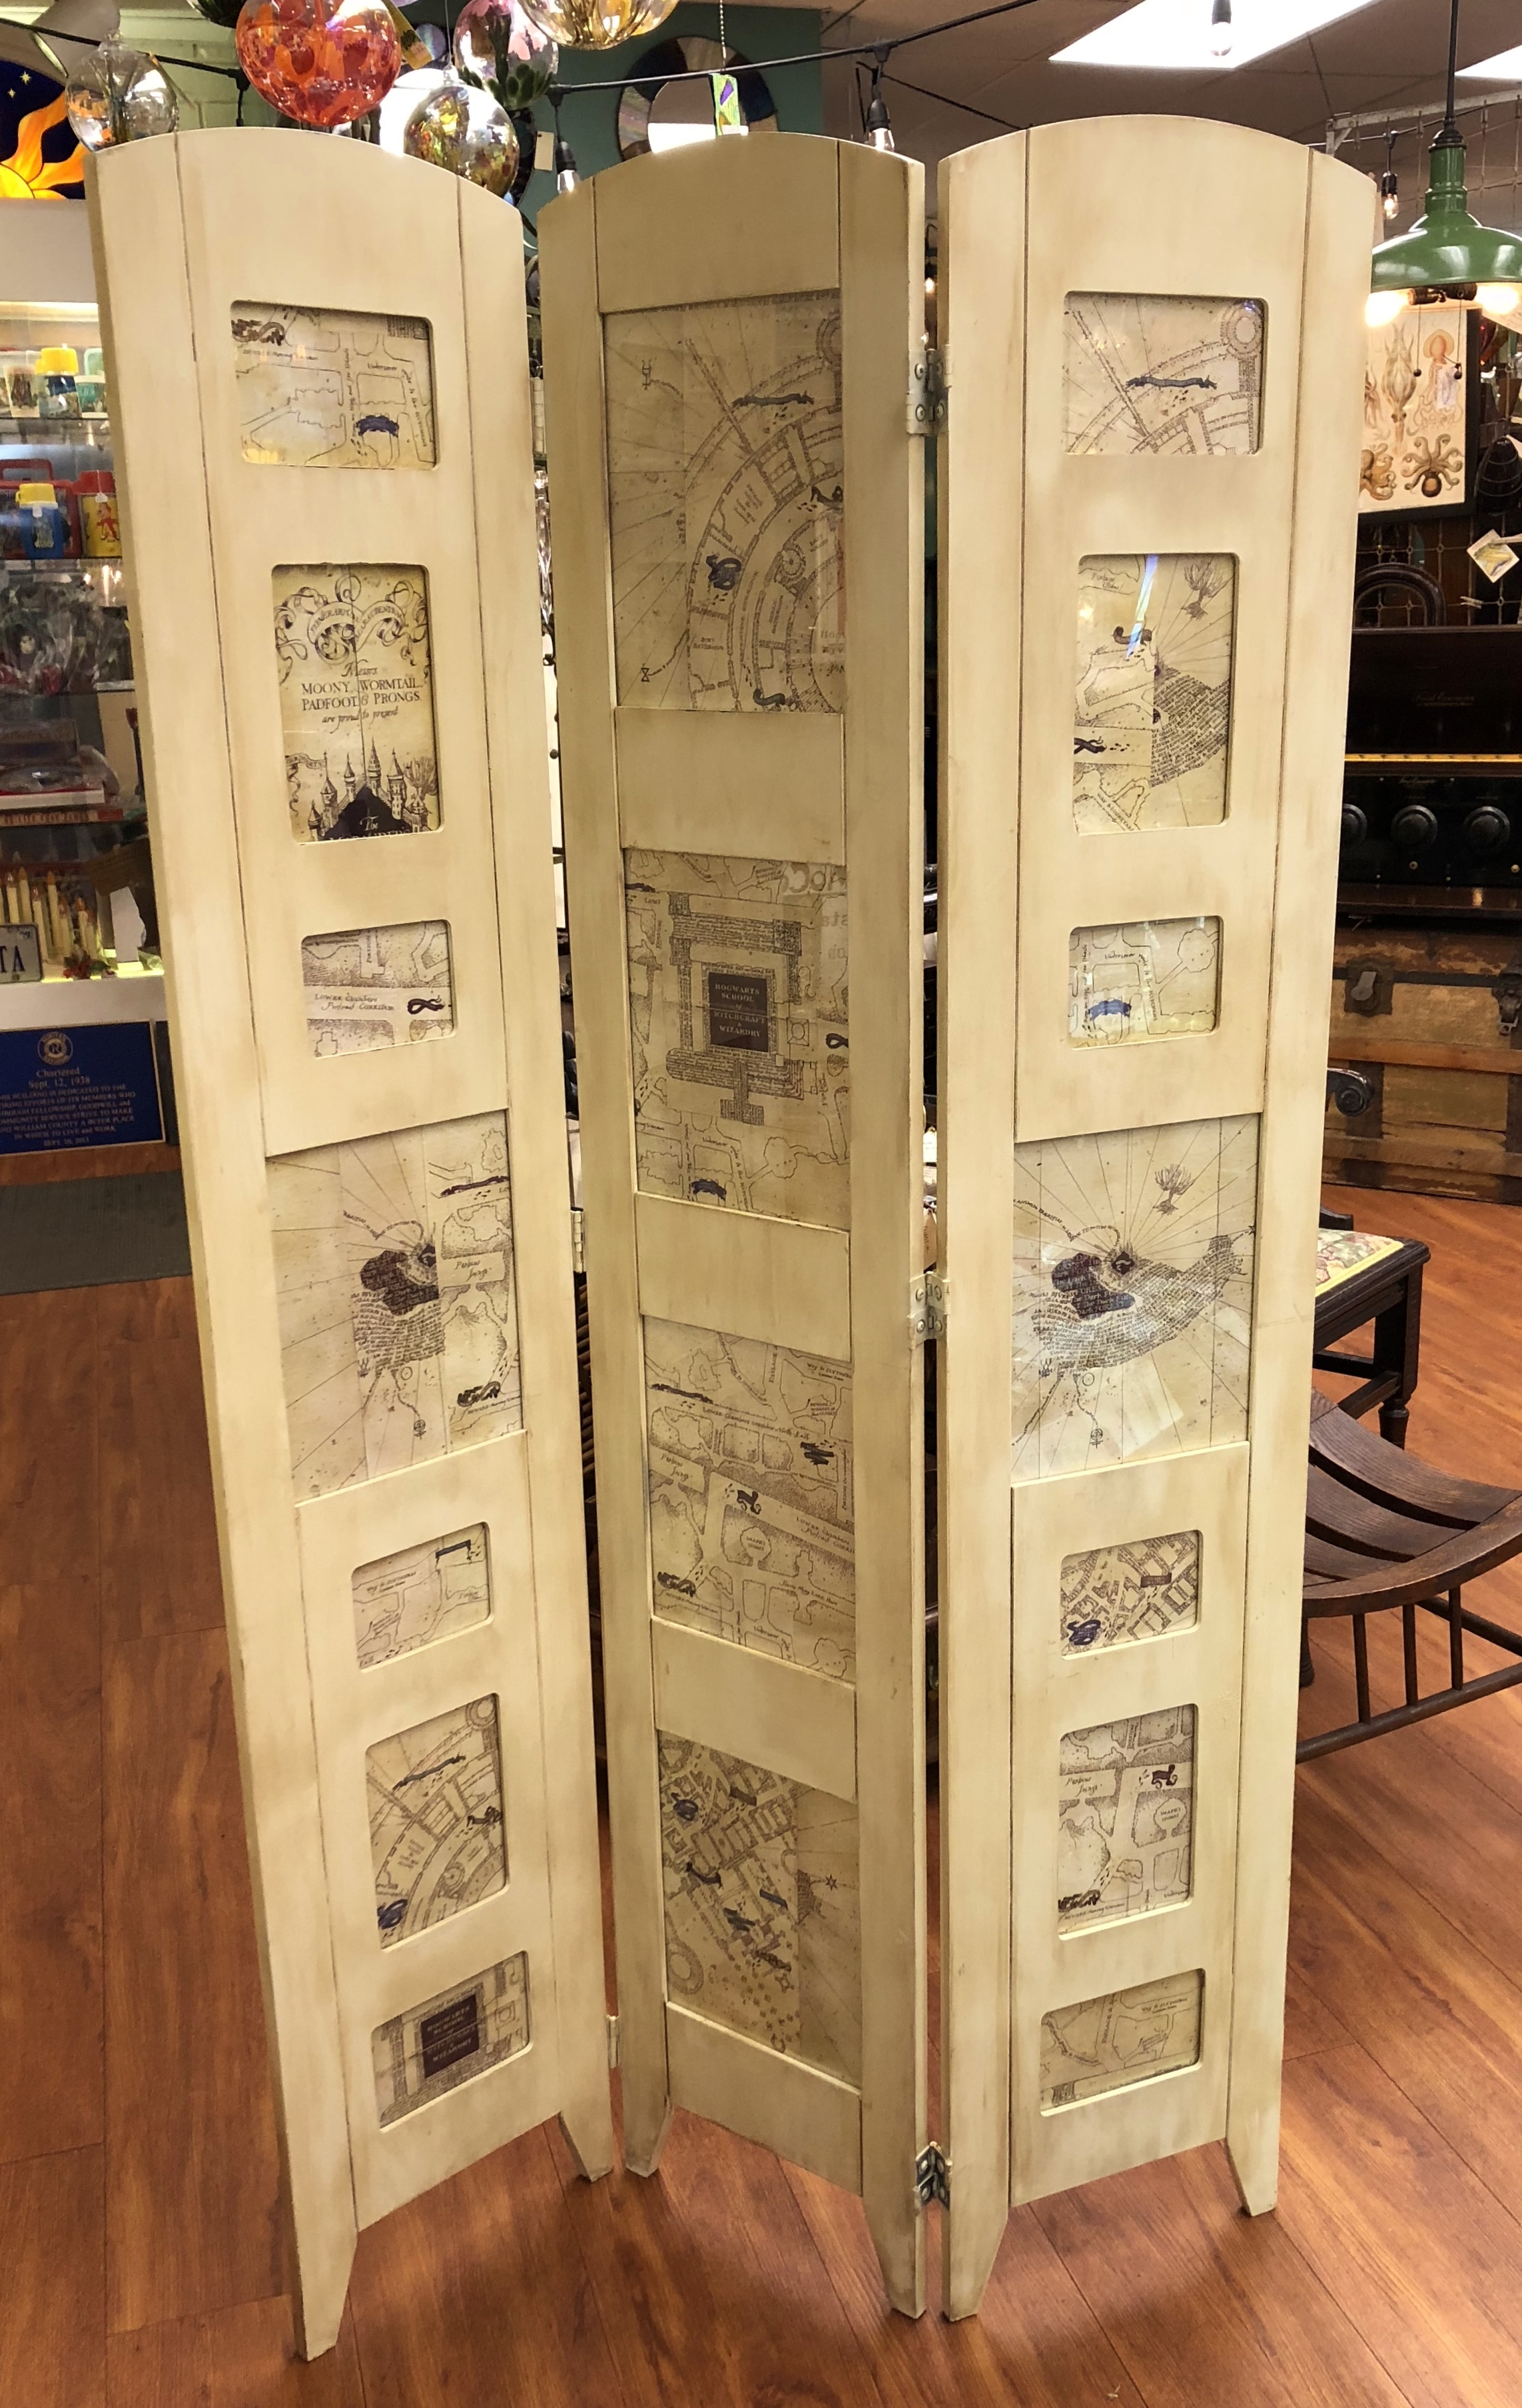
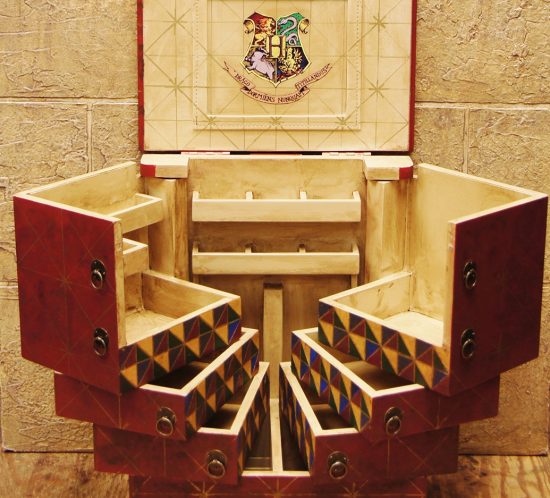
Sorcerer’s Secret Screen Revealed- Finished!
Now we can solemnly swear that the screen looks good and can hide any mischief we might manage to get into!


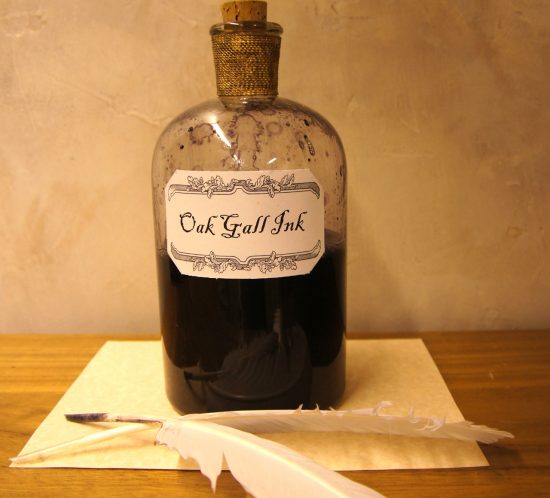
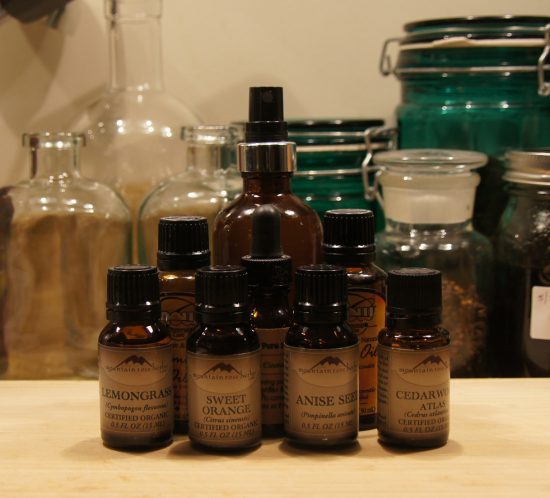
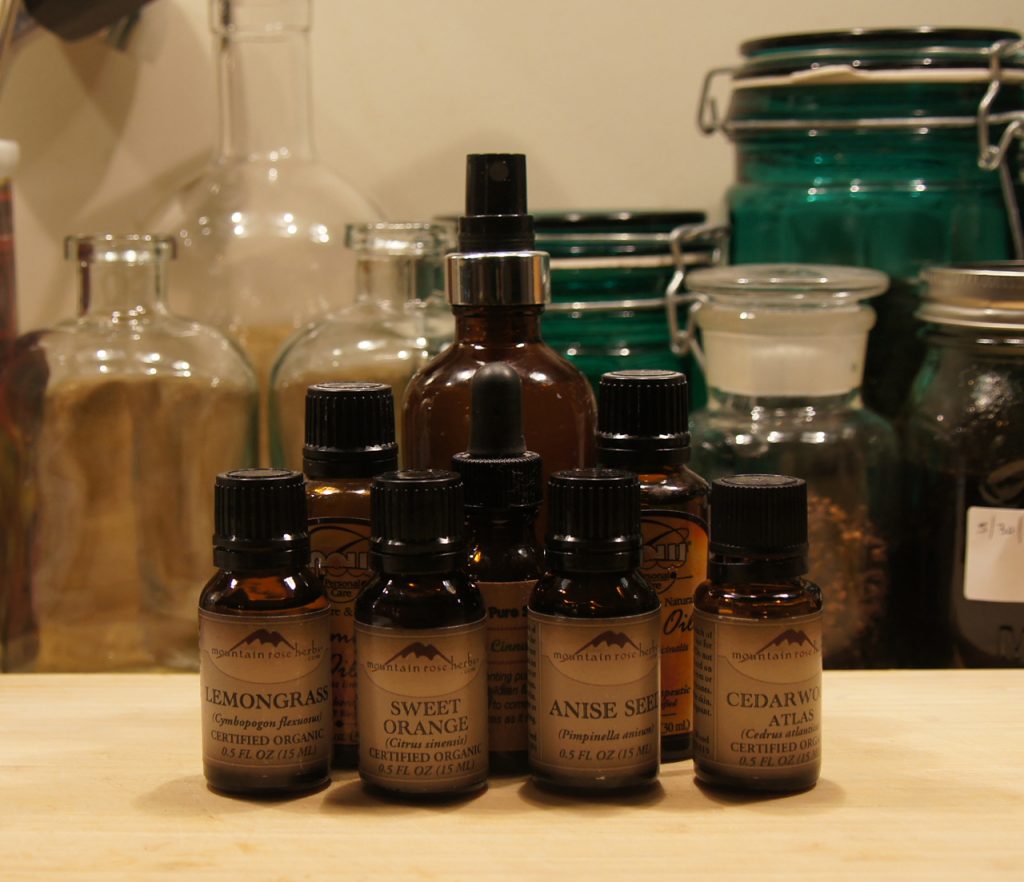
 Have you got that quill pen ready, but are missing some ink? Here we will tell you how to make your own seriously-medieval Oak Gall Ink. You do want the real deal, right?