Tips on Creating Your Own Steampunk Lighting
We wanted to write some notes about creating Steampunk-style lighting. We don’t have many example photos yet and really, every lamp will be different. But the principles stay the same.
The initial creative process is one of pulling out all the pieces – parts that we have hoarded and seeing what works together. Steampunk style is made from components such as gears, gauges, clockworks, gas fittings and other industrial parts. These pieces are made of natural materials such as glass, wood, iron, and brass. These materials may show wear and tear, or be rusted, corroded, or otherwise show their age. But that is OK because a little rust here and there never hurt anyone.
That being said if the finish is too far gone we apply paints in bronze, rust, or other metallic colors. A coat of paint also unifies disparate elements. Paint any pieces that need sprucing up before wiring them together.
Decide what works together keeping in mind that we want good proportions and lamps that are not off balance or top heavy.
Most of our lamps have not needed complex wiring. Consult an electrician for lighting that needs multiple wires combined together.
Edison bulbs complete the look. They tend to get a little hot so use a slide dimmer to keep the bulbs from getting too hot and make the bulbs last longer. There are even dim-able Edison style LED light bulbs available now. These solve the problems of excess heat and the burning out of expensive light bulbs.
Here are a few examples:
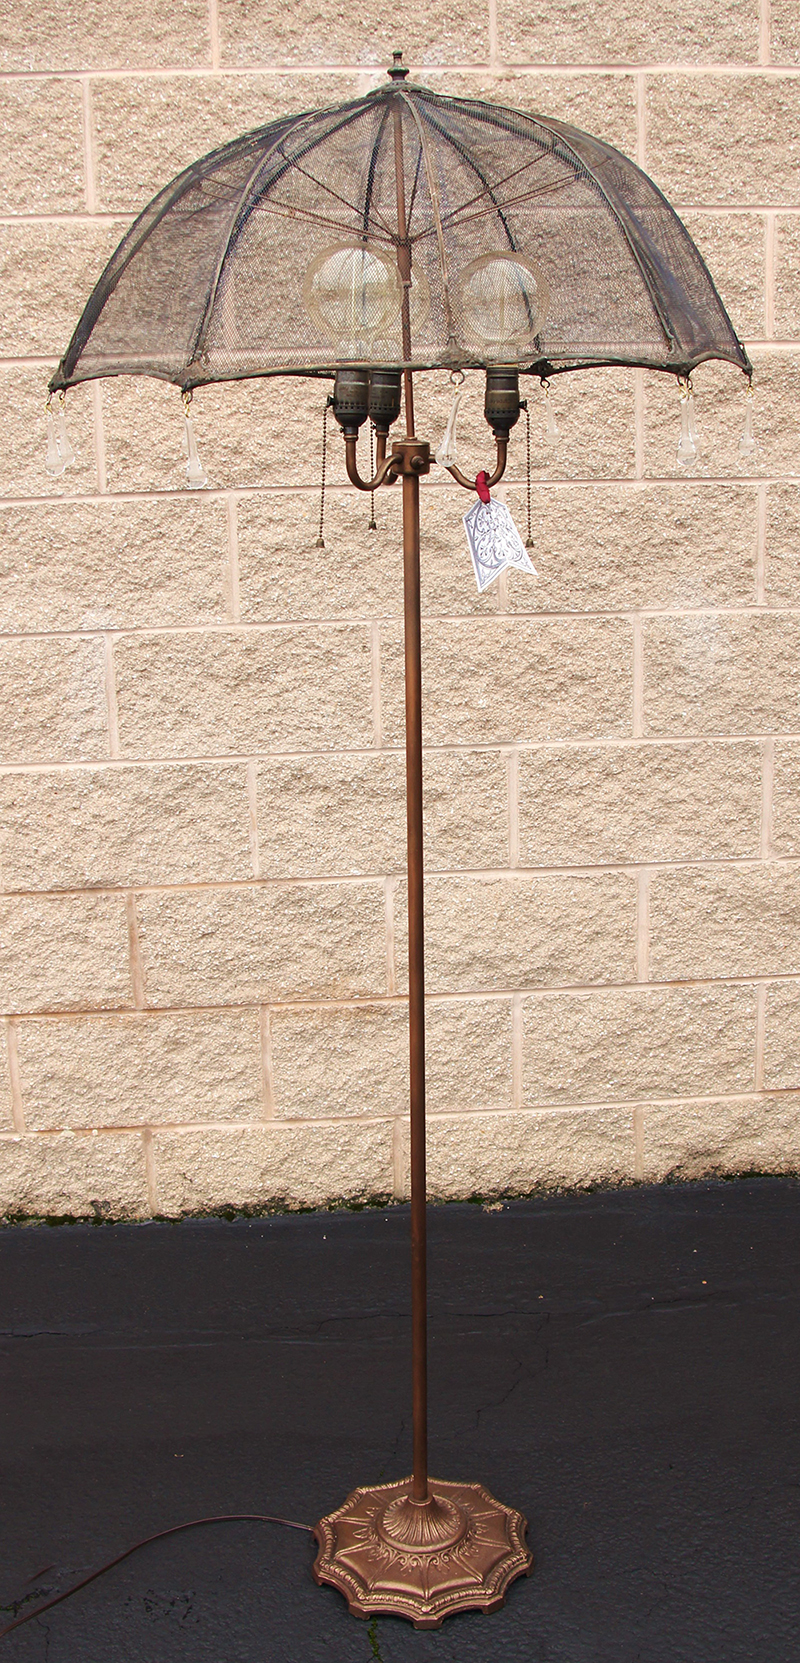
This lampshade is made from a child’s umbrella. We replaced the plastic with copper mesh then mounted it on an antique floor base.
It is completed with Edison light bulbs and black crystal drops.
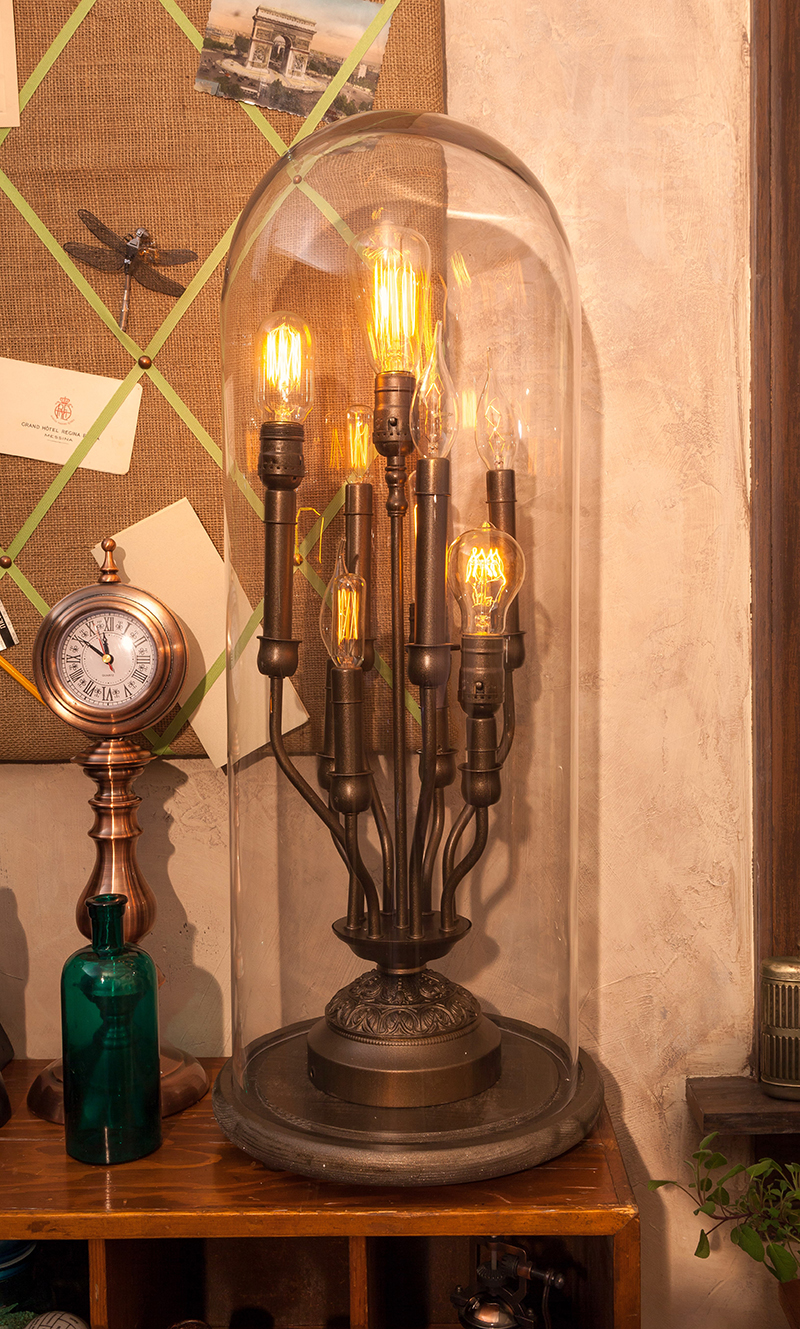
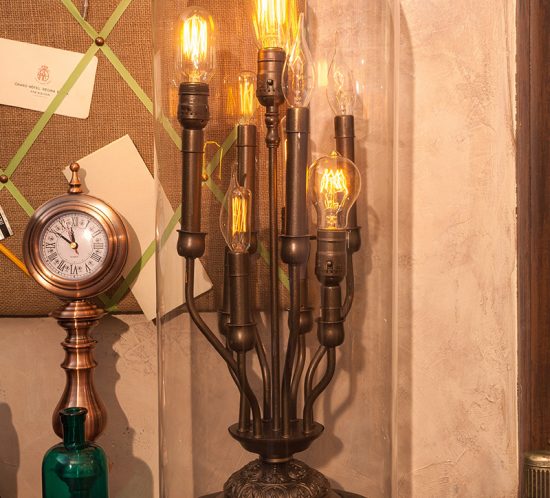
A chandelier socket cluster up-ended inside a bell jar from Restoration Hardware. We used a variety of light bulb sizes for interest.
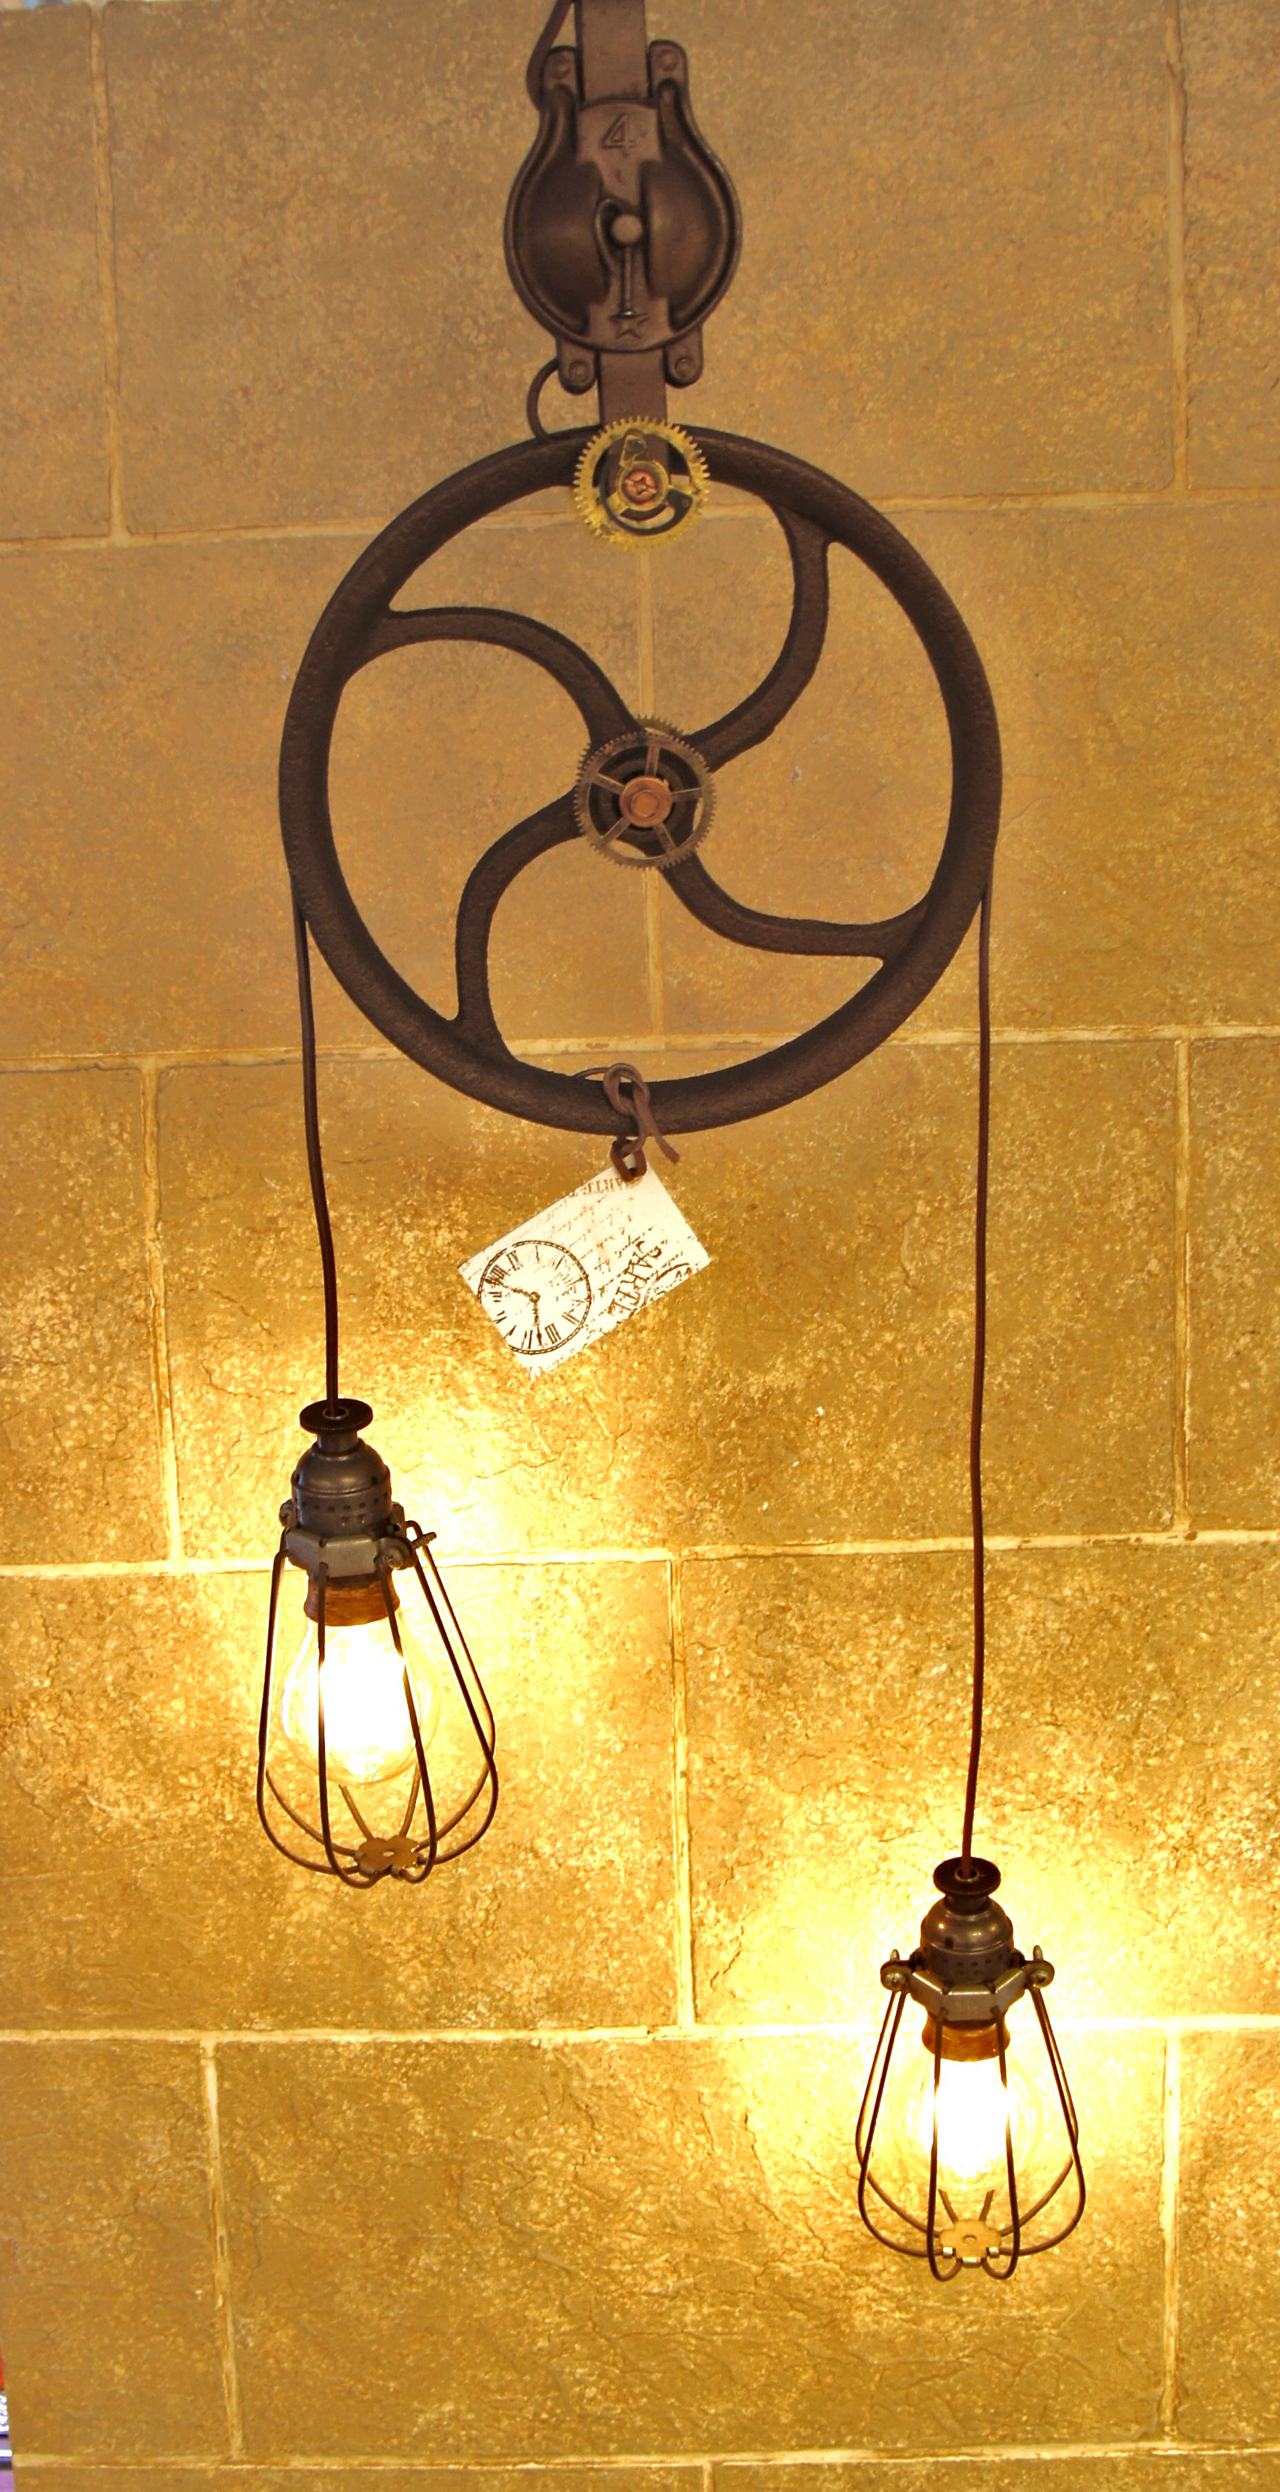
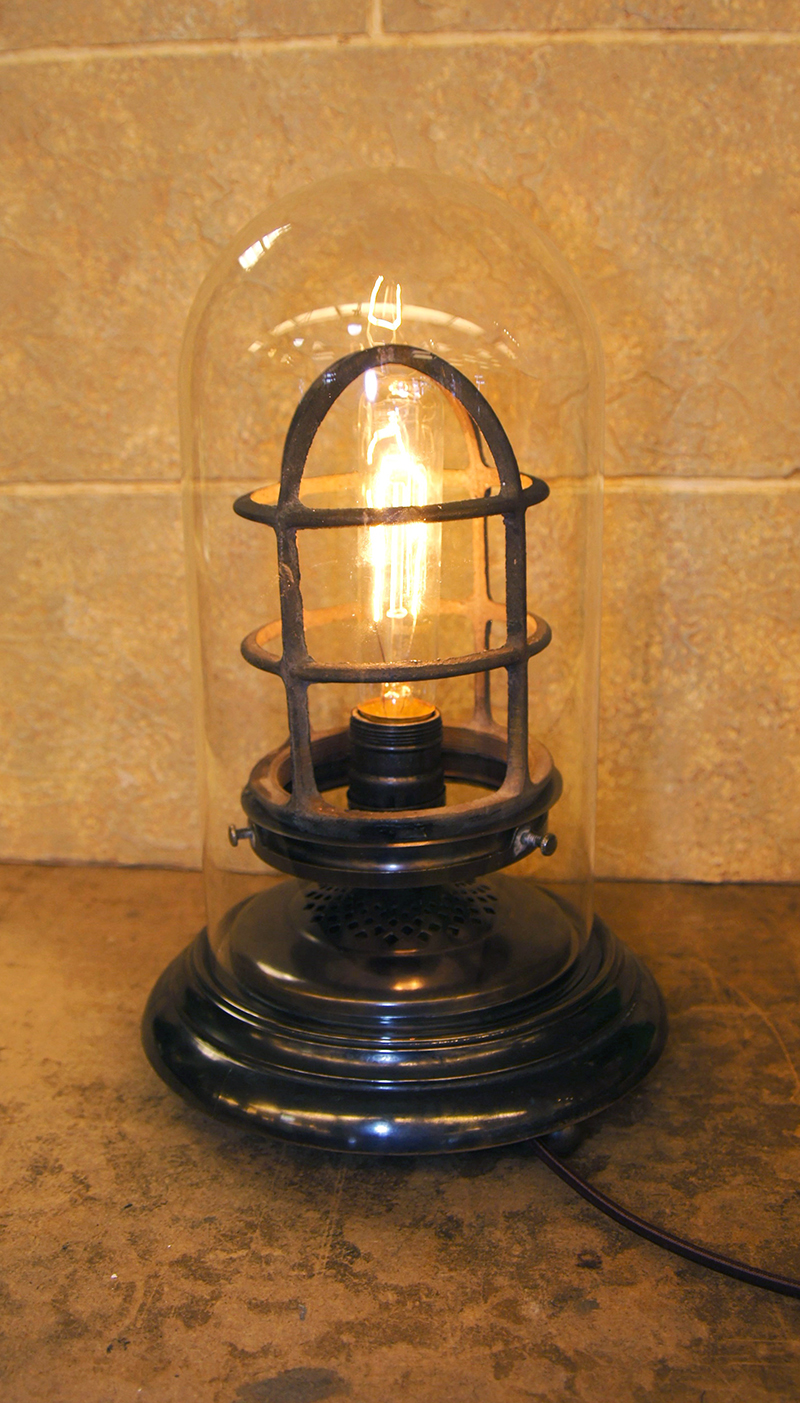
Simple glass dome with an industrial cage light.