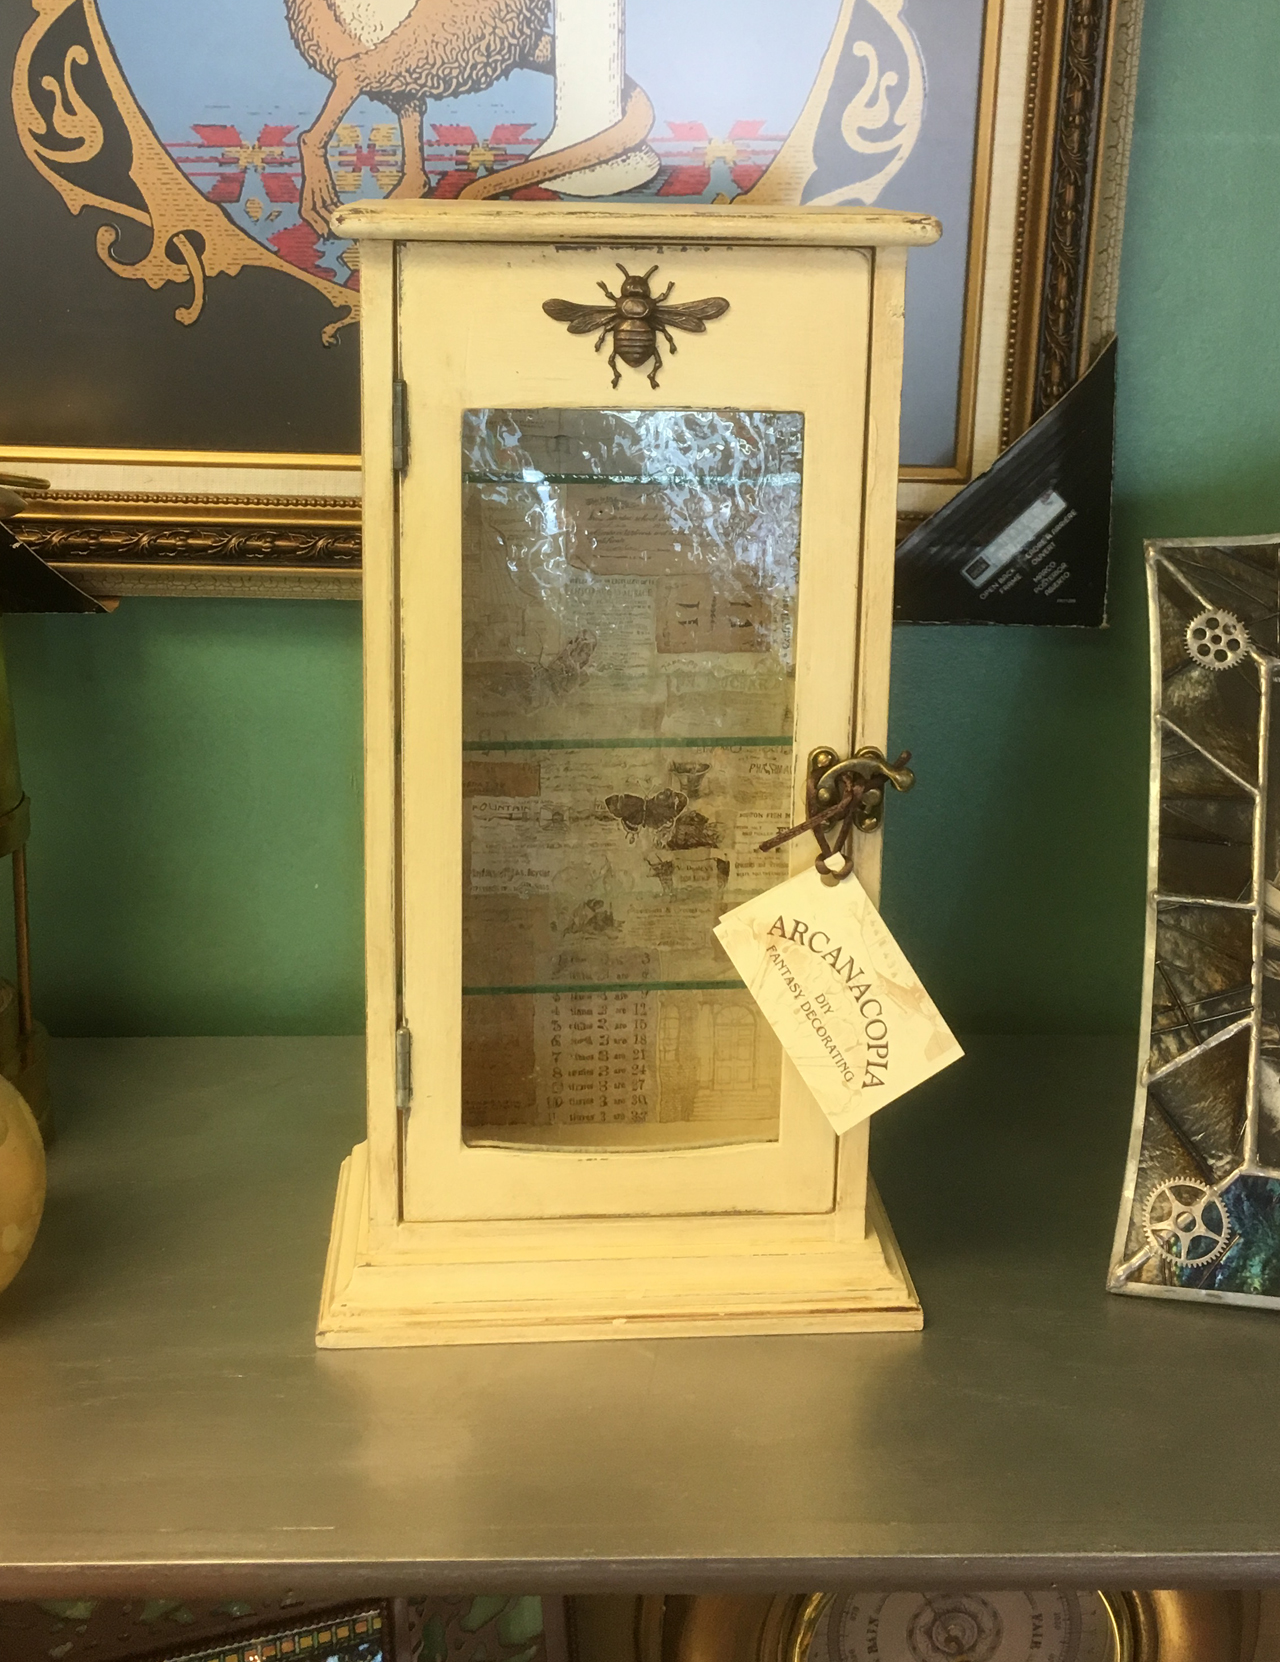
A Curious Little Cabinet


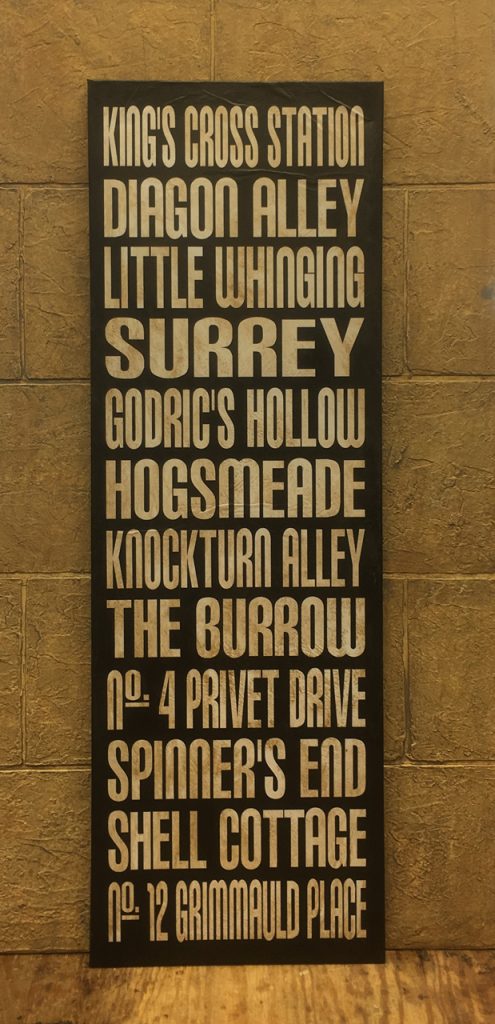
Today we’re going to show you how we take a print and make it look like a painting on canvas. To demonstrate the final result, here’s our Harry Potter Destination Sign canvas:
You will need:
We chose the prints for our Dragonologist’s Parlor that we’re sure any self respecting wizard who was interested in dragons would have chosen for his or her parlor. We found our images in several titles from Dover Publications. We recommend these titles for great magical images:
Dover Publications 120 Great Paintings CD-Rom and Book
Dover Publications 120 Great Victorian Fantasy Paintings CD-Rom and Book
Dover Publications 120 Great Orientalist Paintings CD-Rom and Book
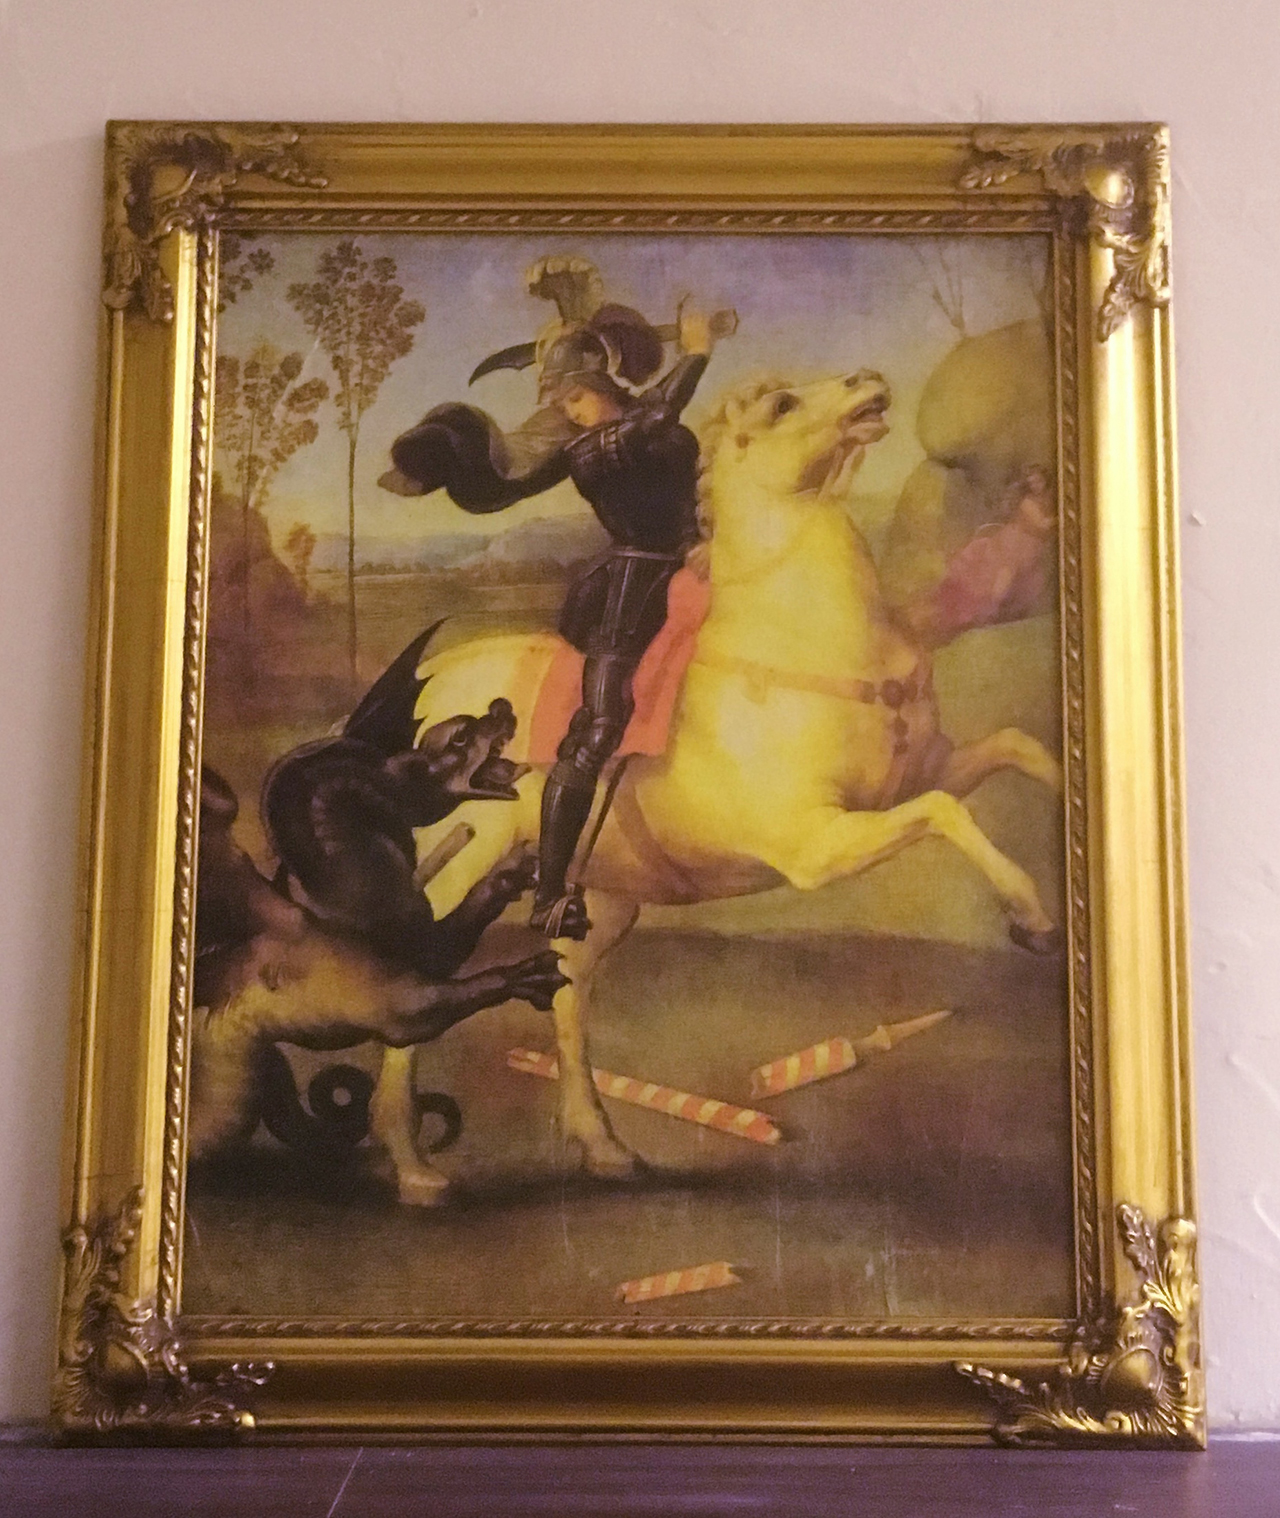
Our Dragon Print
The next step is to find old frames, especially ones that have extra sculpting at the corners, antique style. If they have canvases in them then so much the better. It is easier to find a canvas to fit a frame than it is to find an antique style frame to fit a canvas.
Once we have a frame and canvas, we then choose an image that furthers our design theme. You may have to find a copy center that will work with you to size and print color copies of your chosen images. Note: Printing your own images is less expensive than mounting prints purchased over the internet. Also the thinner paper used by copy centers works better than the heavier and higher quality paper of most commercially available prints. (We are lucky here in our studio that we have a large format plotter that we can use to print anything we want.) You will need to print the image so that it covers the canvas completely while cutting off as little of the image as possible.
The next step is to lightly coat your print with clear polyurethane spray. Mist it lightly with the polyurethane alternating from front to back allowing it to dry before flipping each time. This is to help stabilize both the paper and ink.
Once dry, mark out the edges of the canvas on the back of the print with a pencil where you want your canvas to go. Allow another inch outside of that for enough paper to wrap to the back of the canvas, then trim the paper.
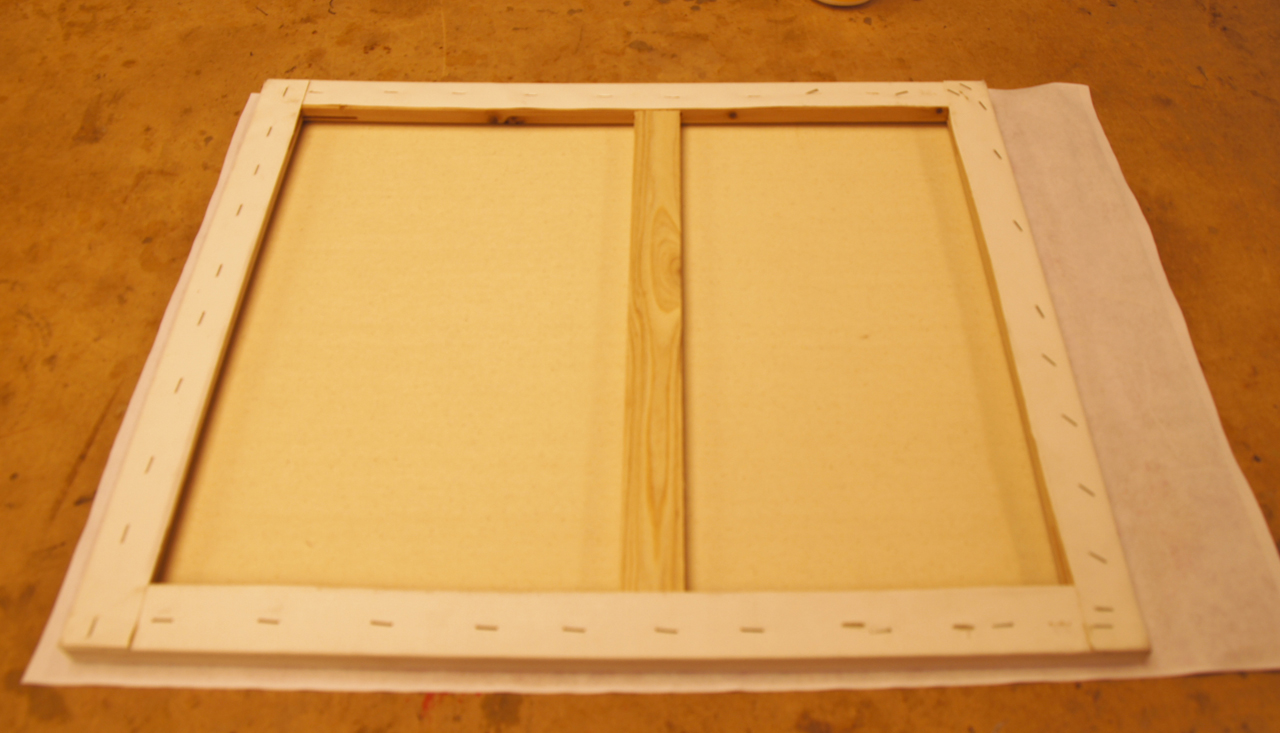
Dang, this print is a little tight – you want to give it a bit more room.
Now get prepared to move quickly on this next step because Mod Podge dries in 15 to 20 minutes. Coat your canvas with Mod Podge Waterbase Sealer Glue & Finish. (We prefer the Glossy option – it seems to work better for this project.) Lay your print face down on the table and place the coated canvas on your penciled placement lines. Turn the whole thing over and gently roll out any wrinkles with an ink brayer or soft foam paint roller, working from the middle to the corners. The idea is to smooth out wrinkles gently so your wet image doesn’t get rubbed off. Allow your piece to dry thoroughly.
Next, we’re going to do the edges in two phases. First, coat the longer sides and a just bit around the corners of your canvas with the Mod Podge. Glue the paper to the longer sides, smoothing out wrinkles as you go.
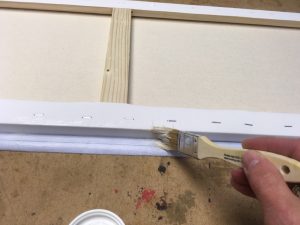
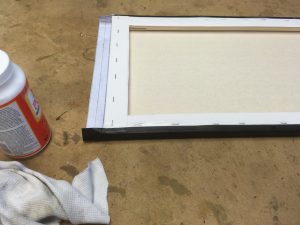
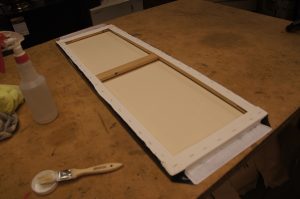
On the ends, fold in the corners of your paper (like a present – see our picture) to stick the paper to the shorter edge corners.
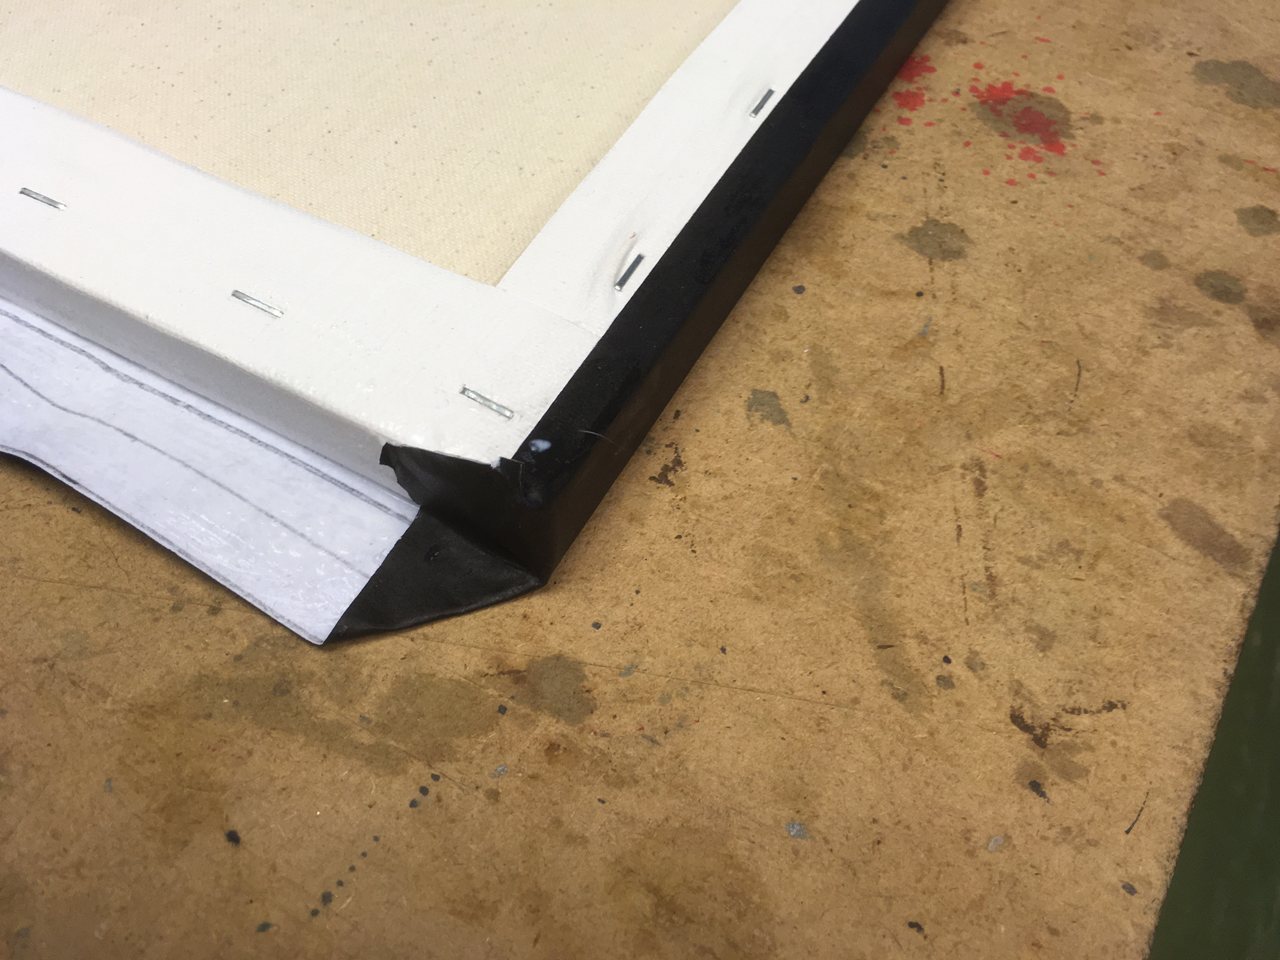
You might want to place blocks or heavy books along the edge to help the print dry to the edges of the canvas properly. (The voice of experience says to be careful not to get any glue on your props.) After those two edges are dry, glue down the shorter edges.
Lastly, coat any remaining paper that might be standing up taller than the canvas edges and fold it down onto the back and weight it with the books or blocks to help it dry in place.
Once your paper is mounted coat it with another coat of Mod Podge. If you brush back and forth with small short brushstrokes you can make your print look more like a painting. Some of the canvas texture will also show through which adds a nice touch.
Secure your dried canvas in your frame and hang on your parlor wall! Or you can hang the unframed canvas if you are going for a more updated look.
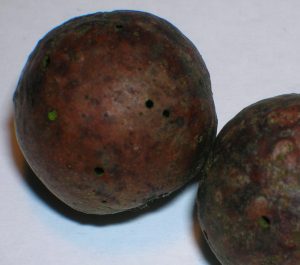 Have you got that quill pen ready, but are missing some ink? Here we will tell you how to make your own seriously-medieval Oak Gall Ink. You do want the real deal, right?
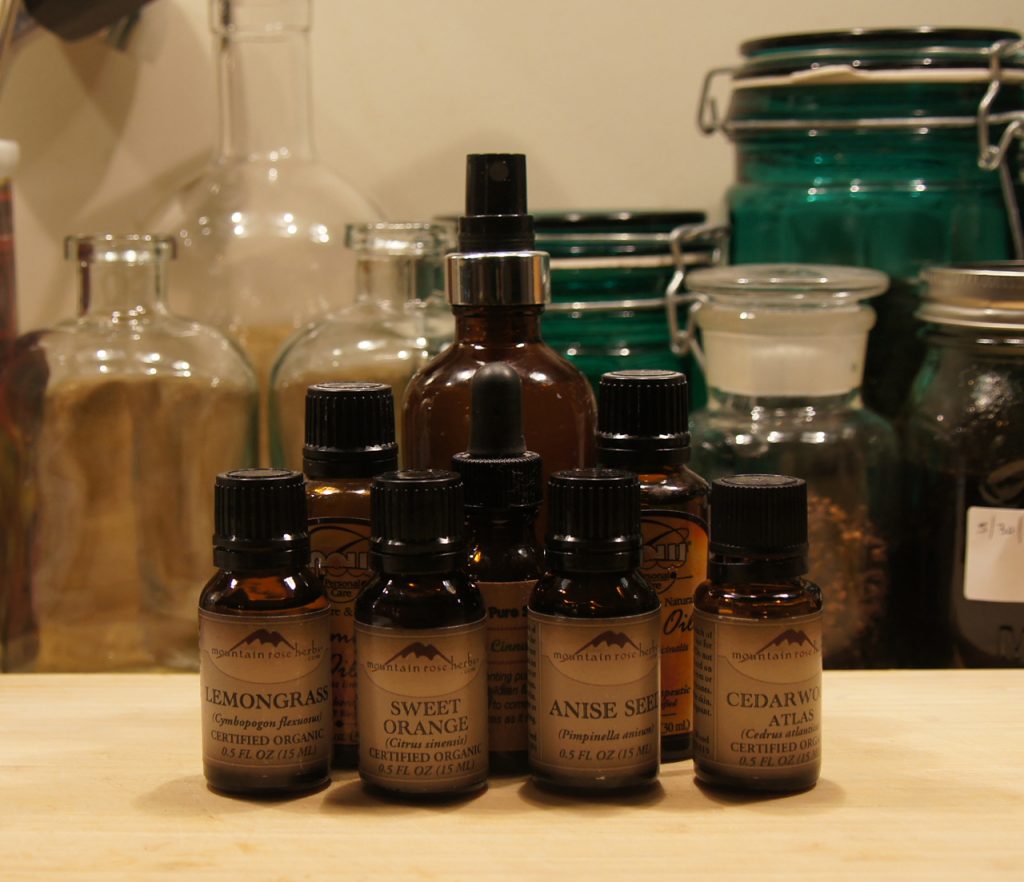
Commercially made room freshener sprays are full of harsh chemicals and can cause allergic reactions in some people. That and they can be cloyingly sweet or soapy smelling. It is one of our fundamental beliefs that homemade is better than store bought most of the time. Making our own scents lets us customize the scents we use and can be very inexpensive. Did you know that the Lady of a Medieval household was expected to know how to create many of the perfumes and cleaners used in the house? That is yet another fascinating subject we could pursue.
This Orange Spice Room Spray is similar to a scent once made by Ralph Lauren and is pleasant as a room spray year round, and when the holidays roll around it suddenly smells especially Christmas-y.
One of our favorite companies that sells essential oils, Mountain Rose Herbals, is in the picture. You can find them HERE.
Ingredients:
1.5 oz. good quality vodka,
1.5 oz. distilled water,
12 drops sweet orange essential oil
12 drops lemon essential oil
4 drops cinnamon leaf essential oil
2 drops clove bud essential oil
2 drops star anise essential oil
2 drops cedar essential oil
2 drops sage essential oil
Supplies:
4 oz. spray bottle with fine mister
rubber gloves
small funnel
Some of us also have a hard time hitting the mouth of the bottle when trying to add drops of essential oil to the mix. This is where the small funnel comes in handy. Our tiny funnel came with a flask and they also make them for use with perfumes. Put the funnel in the mouth of the bottle and add all of the ingredients. That’s all there is to it. Be sure to label the bottle and add the instructions to shake well before using. Enjoy!
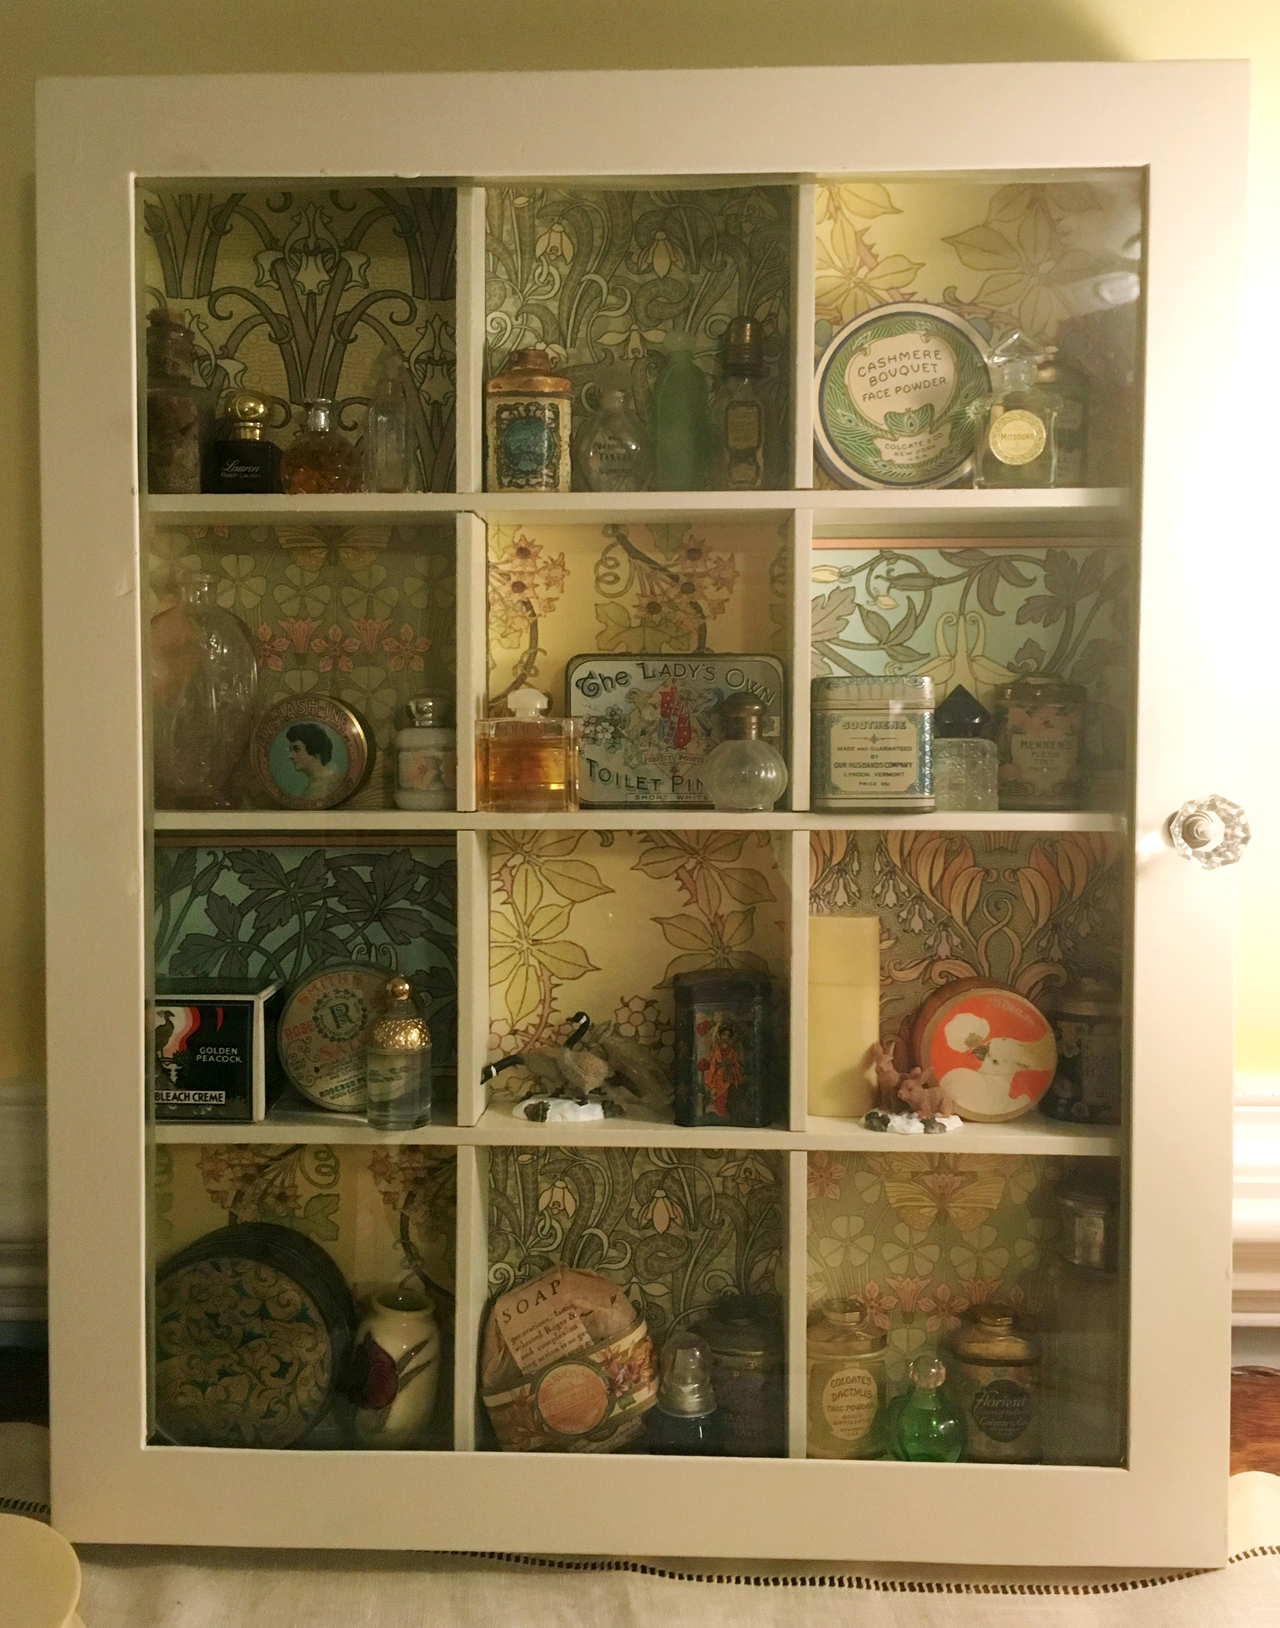
See our post about creating a suitable cabinet for storing your essential oils.
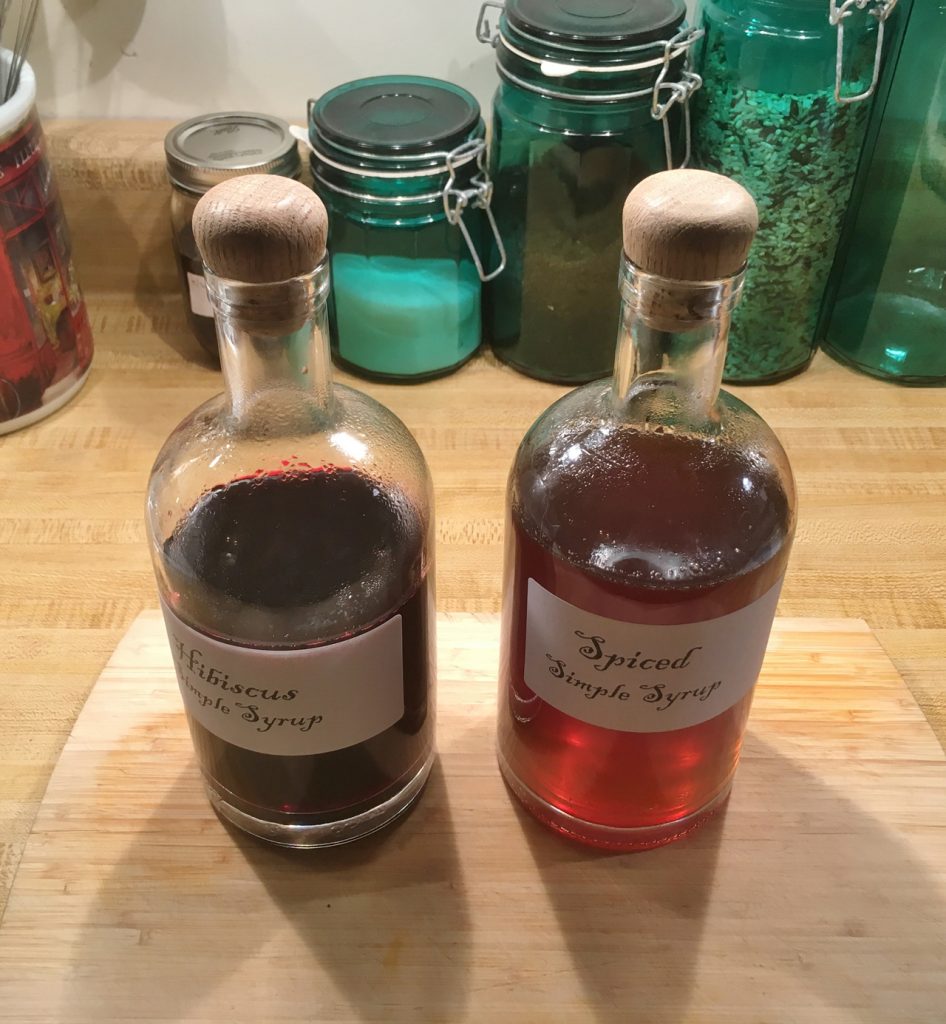
Time for a little mixology! We wanted to DIY a pint of Butterbeer as well as nail down some Red Potion from World of Warcraft. So Step 1 was mixing up a few batches of what’s called simple syrup – basically sugar dissolved in water. Here’s what we enjoyed:READ MORE
